| .. | ||
| files | ||
| 3D printing.jpg | ||
| 3d_printing.jpg | ||
| 383bf69d-ce83-4839-b0a2-d3e06588a402.jpg | ||
| 20200610_130653-18391d2f2f8-18391d426ff.png | ||
| 20200610_130653.jpg | ||
| 20200723_141726.jpg | ||
| 20200723_141750.jpg | ||
| 20200723_141918.jpg | ||
| 20200723_142104.jpg | ||
| background.jpg | ||
| config.json | ||
| Filling injector.jpg | ||
| filling_injector.jpg | ||
| How-To - No Touch Tool.zip | ||
| how-to_-_no_touch_tool.zip | ||
| IMG_5240.jpg | ||
| index.mdx | ||
| No Touch Tool Door.jpg | ||
| No Touch Tool Pinpad.jpg | ||
| no_touch_tool_door.jpg | ||
| no_touch_tool_pinpad.jpg | ||
| no-touch-tool-18391d343bd.jpg | ||
| ntt-white-bkgd.png | ||
| README.md | ||
| references.md | ||
| resources.md | ||
| WhatsApp Image 2020-07-21 at 18.20.46 (2).jpeg | ||
| whatsapp_image_2020-07-21_at_18.20.46_2.jpeg | ||
No Touch Tool with 3D printed mould
 Create a tool for interacting with high contact areas such as door handles, pin pads, and light switches so your hands don't have to... helping prevent Covid-19 contamination spread!
Made from 3D printed nylon for a quick turnaround of moulds to address the problem as soon as possible.
Create a tool for interacting with high contact areas such as door handles, pin pads, and light switches so your hands don't have to... helping prevent Covid-19 contamination spread!
Made from 3D printed nylon for a quick turnaround of moulds to address the problem as soon as possible.
User Location: Lancaster, United Kingdom of Great Britain and Northern Ireland (the)
Steps
Step 1: Make or buy the mould
Nylon was used for the mould as it's melting temperature is much higher than that of LDPE which we use to make the No Touch Tools. We are conscious of consuming virgin plastic but using 3D printed moulds means we're only using the exact amount of plastic required (opposed to CNC Machining sheets of polycarbonate for example). Although metal moulds are ideal for longevity and quality, they do come with a higher carbon footprint and cost. The nylon moulds have so far had over 100 injections with little wear and are holding up very well for a fraction of the cost of a metal mould.
We printed the moulds using an Ultimaker 3 3D printer.


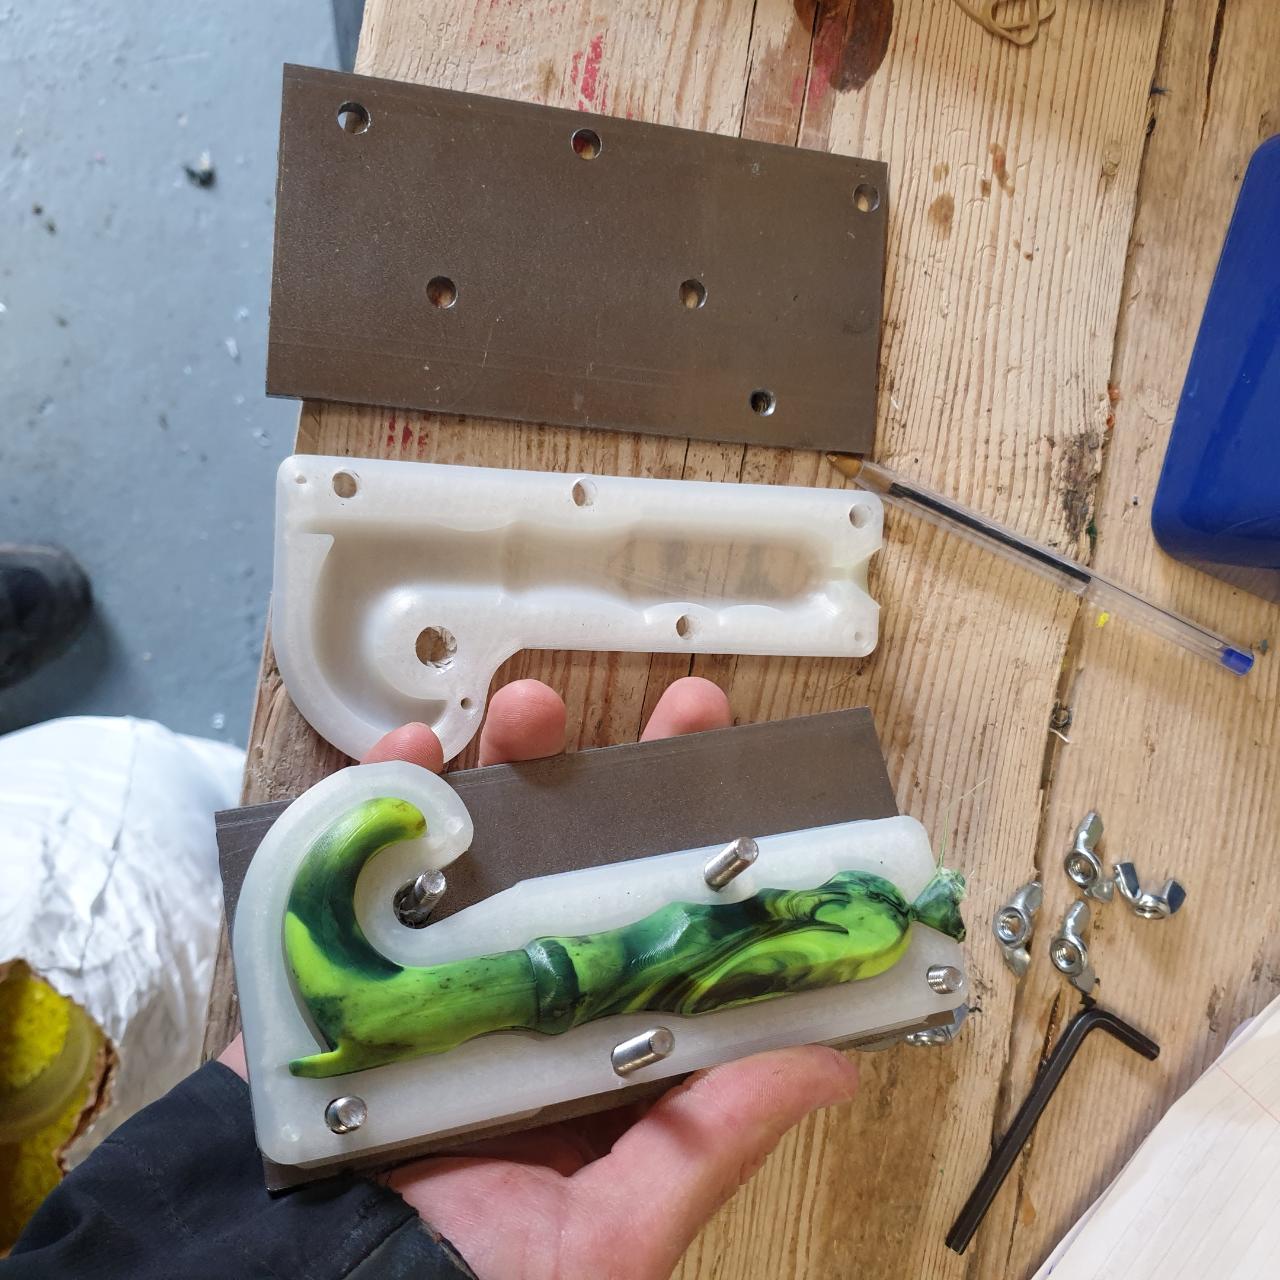
Step 2: Make a clamp for the mould
We used plates of metal either side of the mould to apply an even pressure but also wick away some of the heat. You could design bolt slots in the mould halves to clamp them directly. Initially our moulds had through-bolts which was of course silly and we quickly moved to a significant 10mm steel plate either side of the mould clamped together with M10 bolts. This setup becomes really slick as you can slide the moulds out of the clamp easily, separate the part and slot it back together when complete.

Step 3: Inject into the mould
We use LDPE sourced from wheel nut indicators (Checkpoints) which is vibrantly coloured and very nice quality to work with. It injects nicely between 160-170*C. For each tool we put 40g of plastic into the injection moulder - accounting for some leakage at the beginning to ensure the plastic is flowing nicely and over-spill at the end to ensure the mould is 100% filled. We inject the plastic relatively slowly by hand and hold the pressure once the mould is filled (indicated by when it overflows at the top). Using nylon moulds means that the injected plastic is insulated so it doesn't cool quickly so wants to escape if you don't hold the pressure after injecting.


Step 4: Leave to cool and separate
After injecting, leave the moulds clamped to cool for 3 minutes before releasing the No Touch Tool from the mould. If you take out the part too early, it may be soft and you risk deforming it. Equally, don't leave it in longer than 6 minutes as the shrinkage may cause it to hug the sides which makes it much harder to release!
Unclamp the mould, peel the part from the mould and leave the moulds to cool (being a plastic mould, it keeps warm for longer which can cause issues over multiple injections). A fan can help this process.
Using multiple moulds and clamps here enables you to get quick cycle times - you can be injecting the next tools whilst the previous ones cool for example.

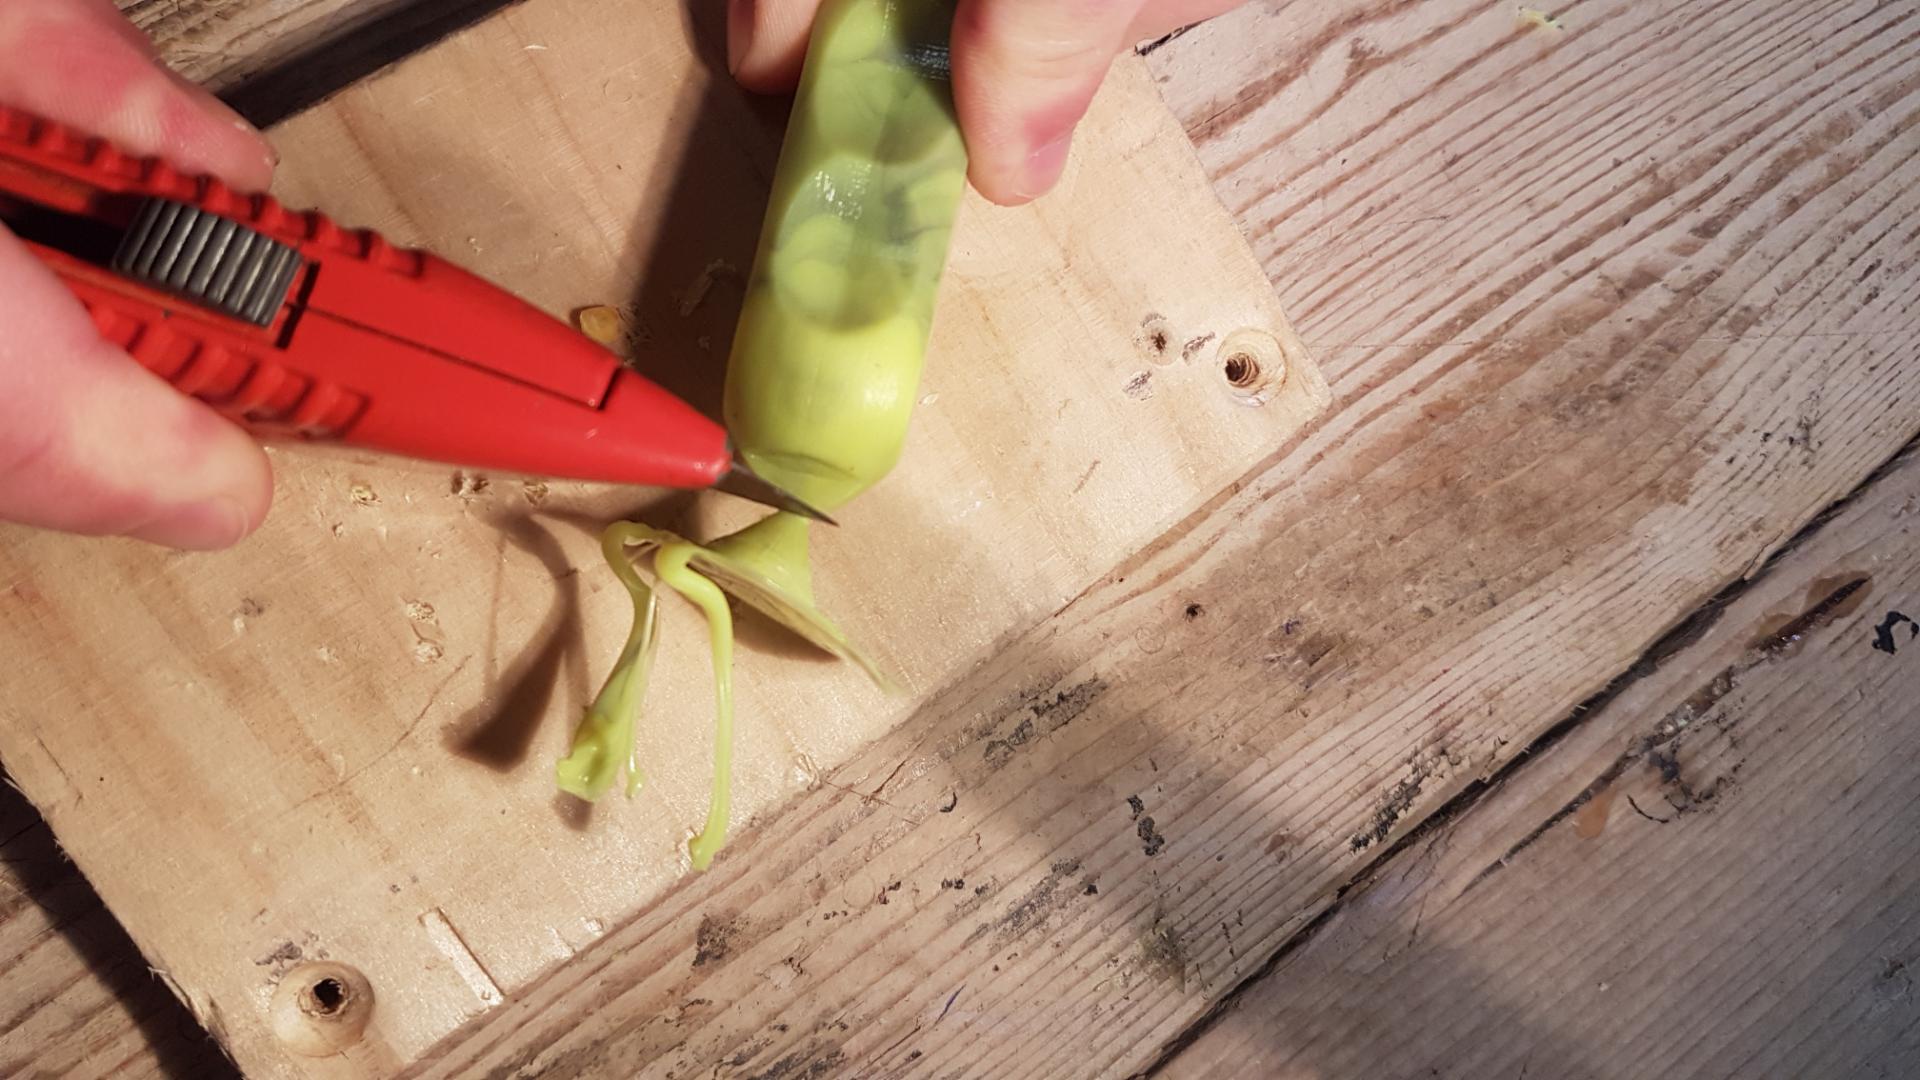
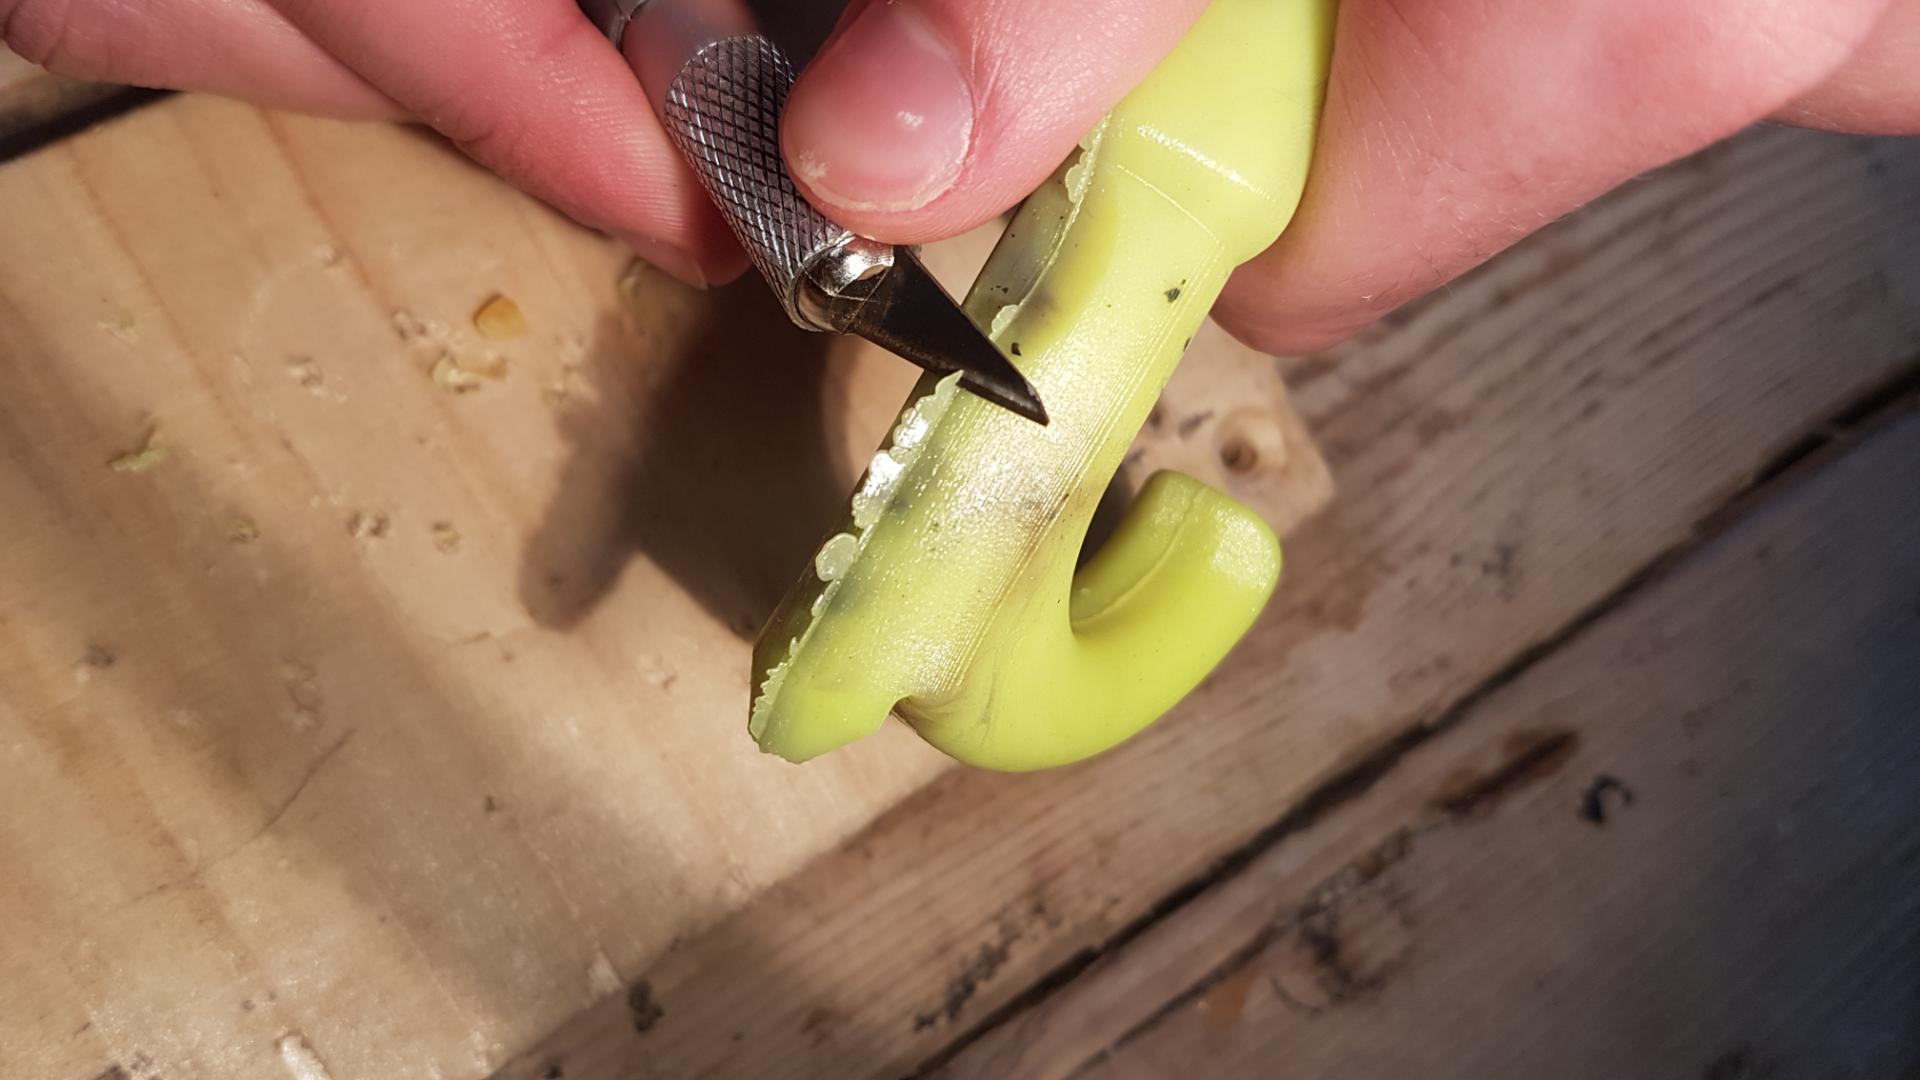
Step 5: Finishing
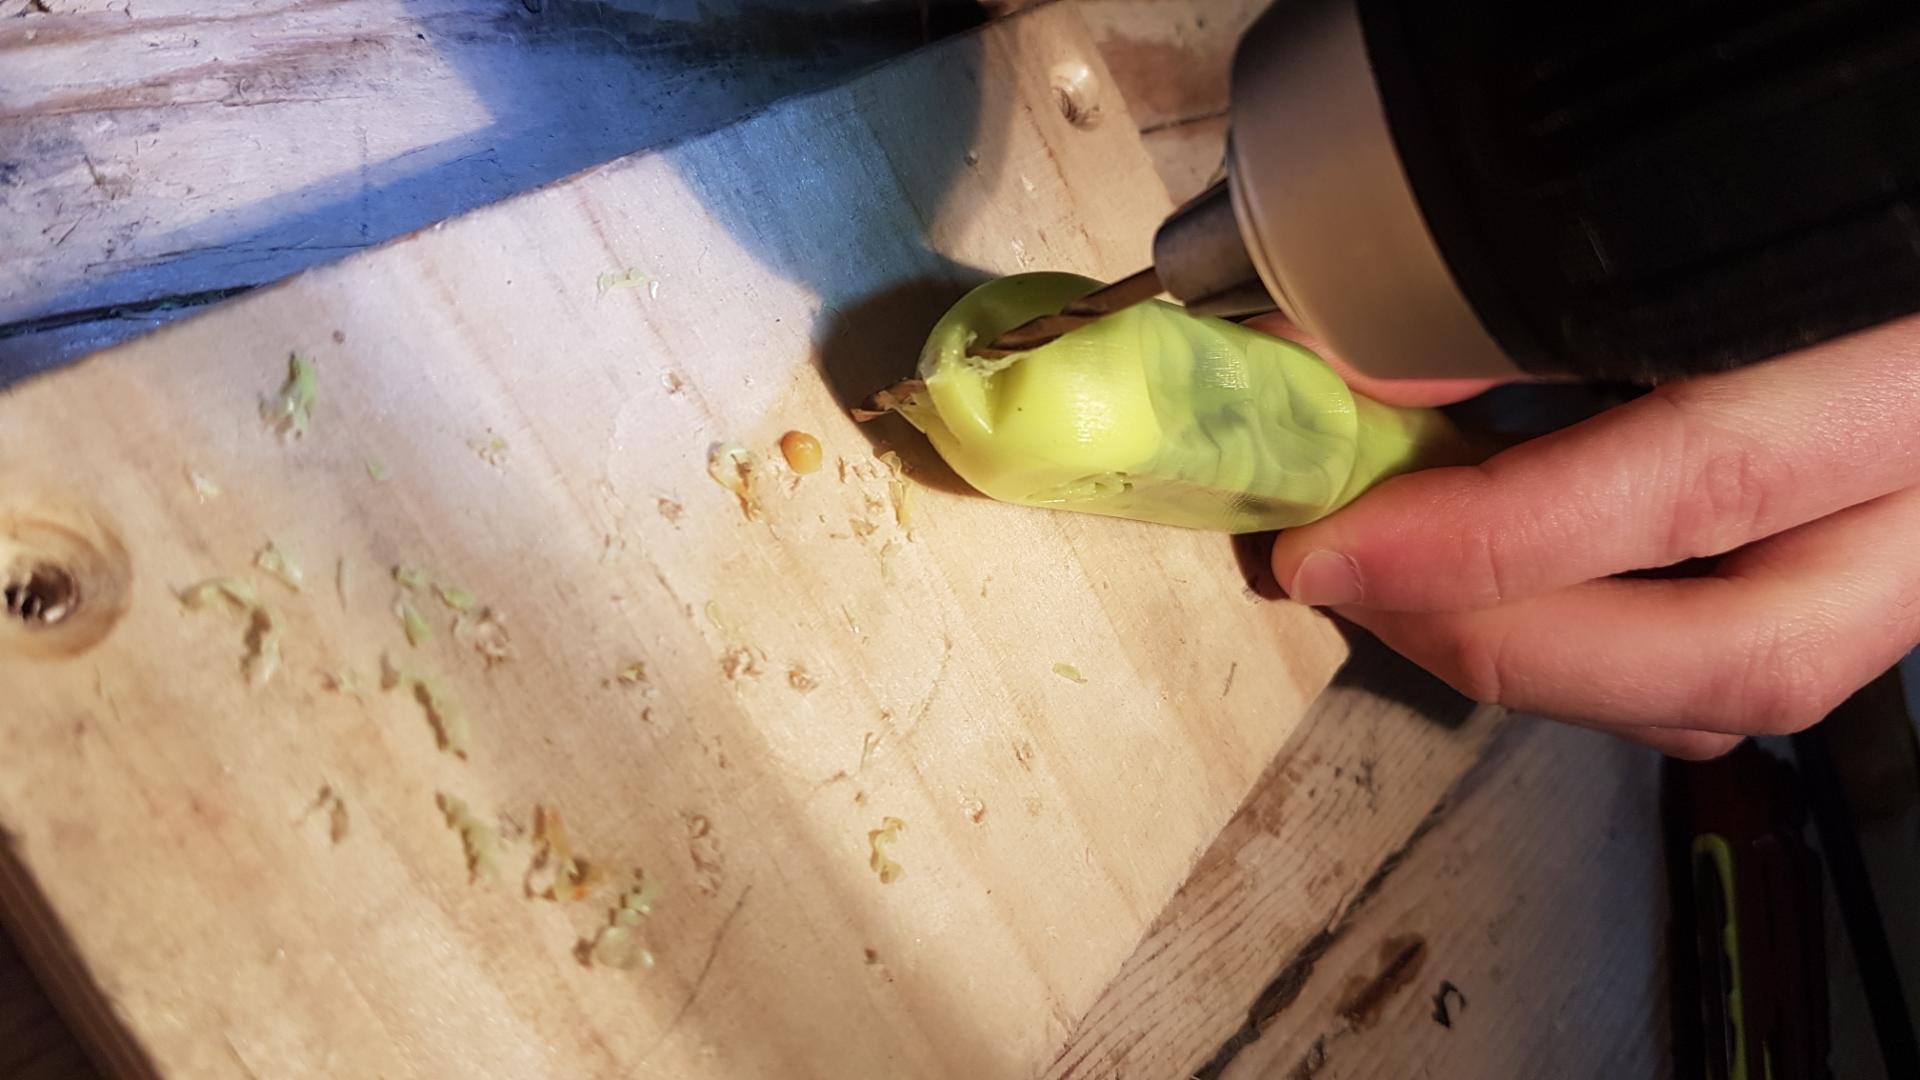
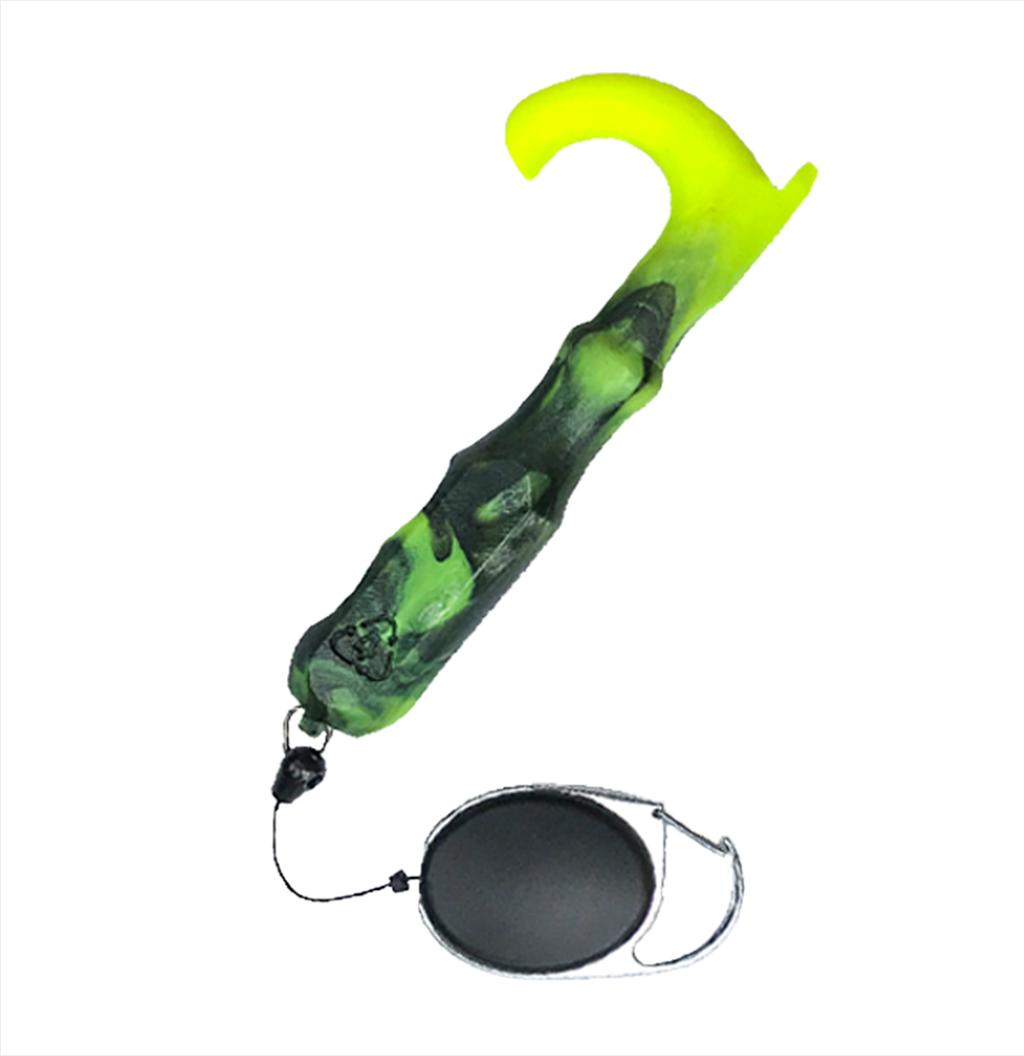
Cut away the sprue using a sharp knife. Cut away any flashing that may have occurred. Drill a hole for a keyring in the bottom. Attach a retractable lanyard which helps keep the tool keep out of pockets and reduce contamination risk but remains close to hand.
Step 6: Finished!
Keep your hands away from high-contact surfaces and use the tool instead!
Stay safe out there.


Step 7: Bonus: Speed up the process
To meet demand or lower the price point of the tools, there are a number of ways you can speed up the process:
- Heat the plastic before putting into the injector like Qi-Tech
You can also use an oven to pre-heat the shreds rather than an extruder. 2. Use multiple moulds. This enables you to have some products cooling whilst you inject others. 3. Fill the injection tube for multiple shots. If you can load your injector with multiple 40g shots of plastic, this will enable you to inject multiple shots at a time.

