| .. | ||
| 0e5c791751ef05a1968036b3db99f14d-185fcacce6d.jpg | ||
| 62b05182de7b58ef75ad8d8ea3aa9bd0-185fcacbf90.jpg | ||
| 6849E8FE-FF60-4669-9A09-A0186CA91FC9-185fcacb193.jpeg | ||
| alu drawing rendered-185fc94100a.jpg | ||
| alu_drawing_rendered-185fc94100a.jpg | ||
| assem5.html | ||
| Assem5.STEP | ||
| config.json | ||
| index.mdx | ||
| README.md | ||
| references.md | ||
| resources.md | ||
| Screenshot_20230129_041837-185fca9563c.png | ||
| Untitled-2.png | ||
| Untitled-3.png | ||
| title | slug | description | tags | category | difficulty | time | keywords | location | |||
|---|---|---|---|---|---|---|---|---|---|---|---|
| Old School Bookmark Mould | old-school-bookmark-mould | Mould your own bookmark for your reading or even simply a marker for whatever it is you would like to mark or clip together with something else. Use plastic with a history on it's back, let's stop using new materials for every single item we decide to produce. Save the planet. |
|
Moulds | Medium | < 1 week | Athens, Greece |
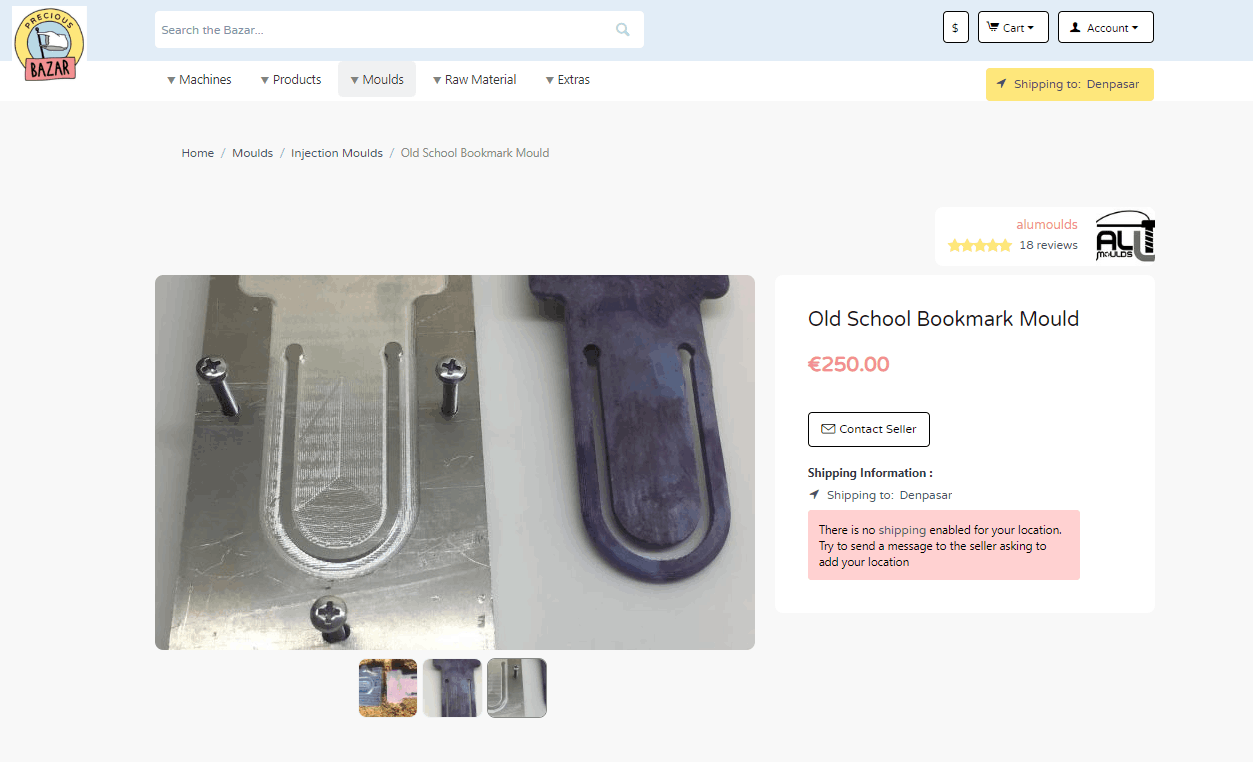
Old School Bookmark Mould
 Mould your own bookmark for your reading or even simply a marker for whatever it is you would like to mark or clip together with something else. Use plastic with a history on it's back, let's stop using new materials for every single item we decide to produce. Save the planet.
User Location: Athens, Greece
Steps
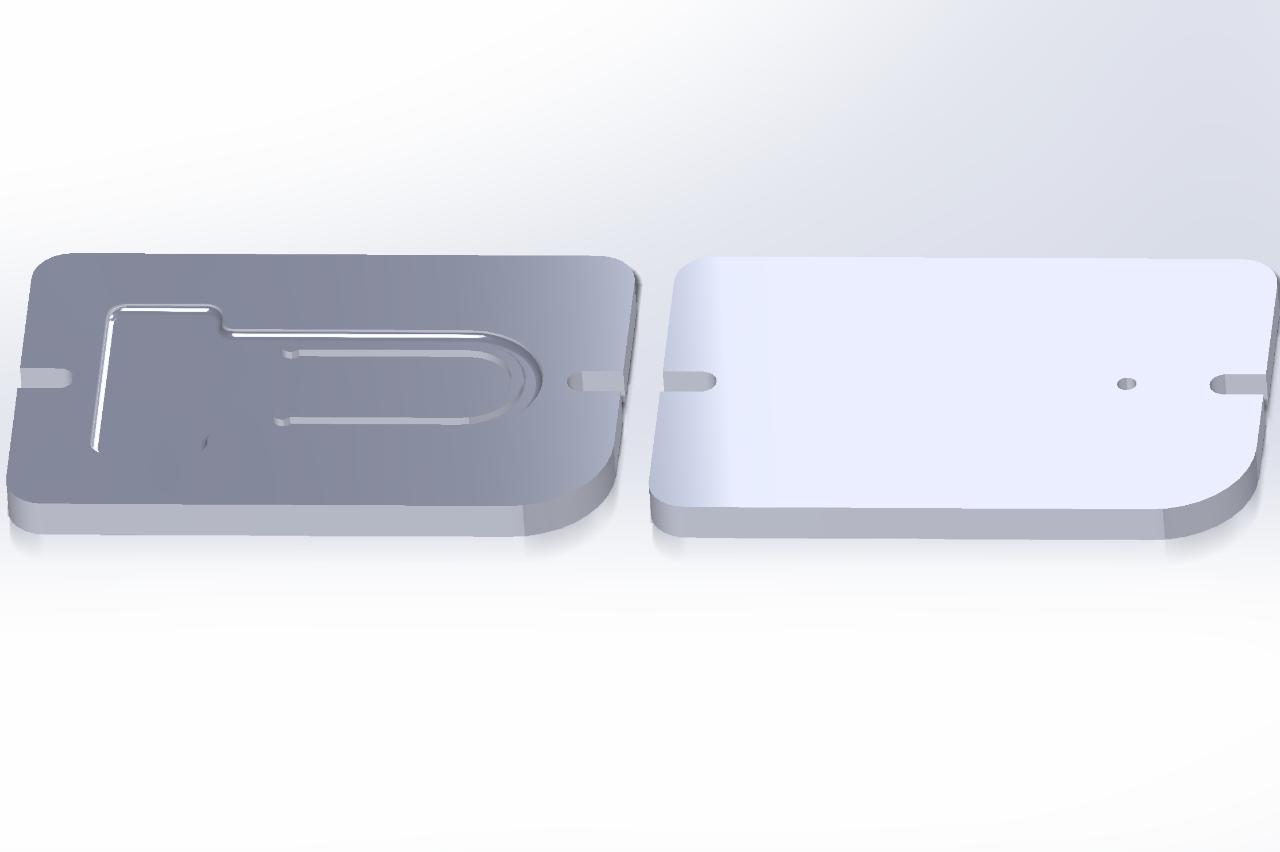
Step 1: CNC your mould
For mould-making, download the files above and CNC-mill it yourself or send it to a mould maker.
you will need 10mm thick aluminium plate the finished mould would be 10cmx15cm for each side.

Step 2: Alternative: Buy The mould
We also sell this mould on [filtered] bazar in the link below if you don't have access to making the mould yourself.
Step 3: Time to inject
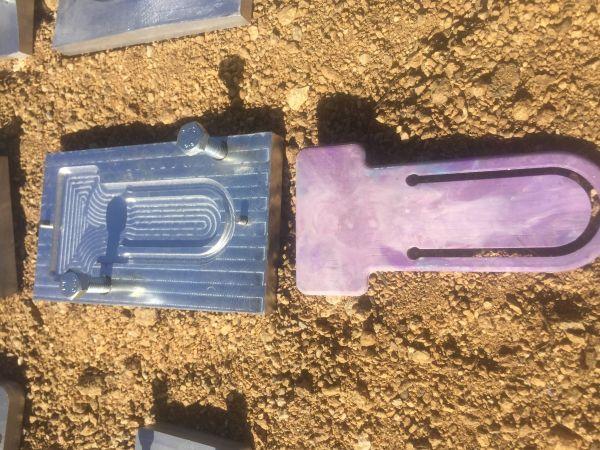
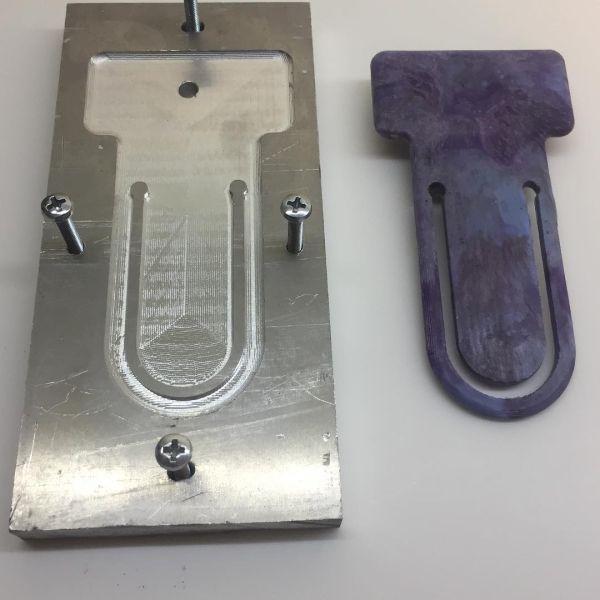
Your mould should look like this when it is ready.
Due to the thin object, preheating the mould around 80°C to make the process of injecting easier.

Step 4: Inject the parts
Time to inject. The plastic should be evenly molten to easily spread within the mould, so it might run out of the nozzle just because of gravity. Use a valve into the nozzle and open it right before you start injecting. Act fast and keep the pressure for a couple of seconds before lifting the lever. This will prevent sink marks as the plastic is cooling down under pressure.
Once injected, open the mould if you wait a lot ,because of the plastic, shrinking maybe it will be more hard to release the object!