| .. | ||
| 1.jpg | ||
| 2.jpg | ||
| 3.jpg | ||
| 4.jpg | ||
| 5.jpg | ||
| 6.jpg | ||
| 7.jpg | ||
| 8.jpg | ||
| 9.jpg | ||
| 10.jpg | ||
| config.json | ||
| index.mdx | ||
| README.md | ||
| references.md | ||
| resources.md | ||
| title | slug | description | tags | category | difficulty | time | keywords | location | |||
|---|---|---|---|---|---|---|---|---|---|---|---|
| Stamp products fast. Without heating | stamp-products-fast-without-heating | We will show you how you can stamp the products you made in a fast efficient way. The main benefit is that it doesn’t require heating so you have no heatup/cooldown times. This is good for bigger productions and just saves energy :) |
|
Guides | Easy | < 1 week | Chennai, India |
Stamp products fast. Without heating
 We will show you how you can stamp the products you made in a fast efficient way. The main benefit is that it doesn’t require heating so you have no heatup/cooldown times. This is good for bigger productions and just saves energy :)
User Location: Chennai, India
Steps
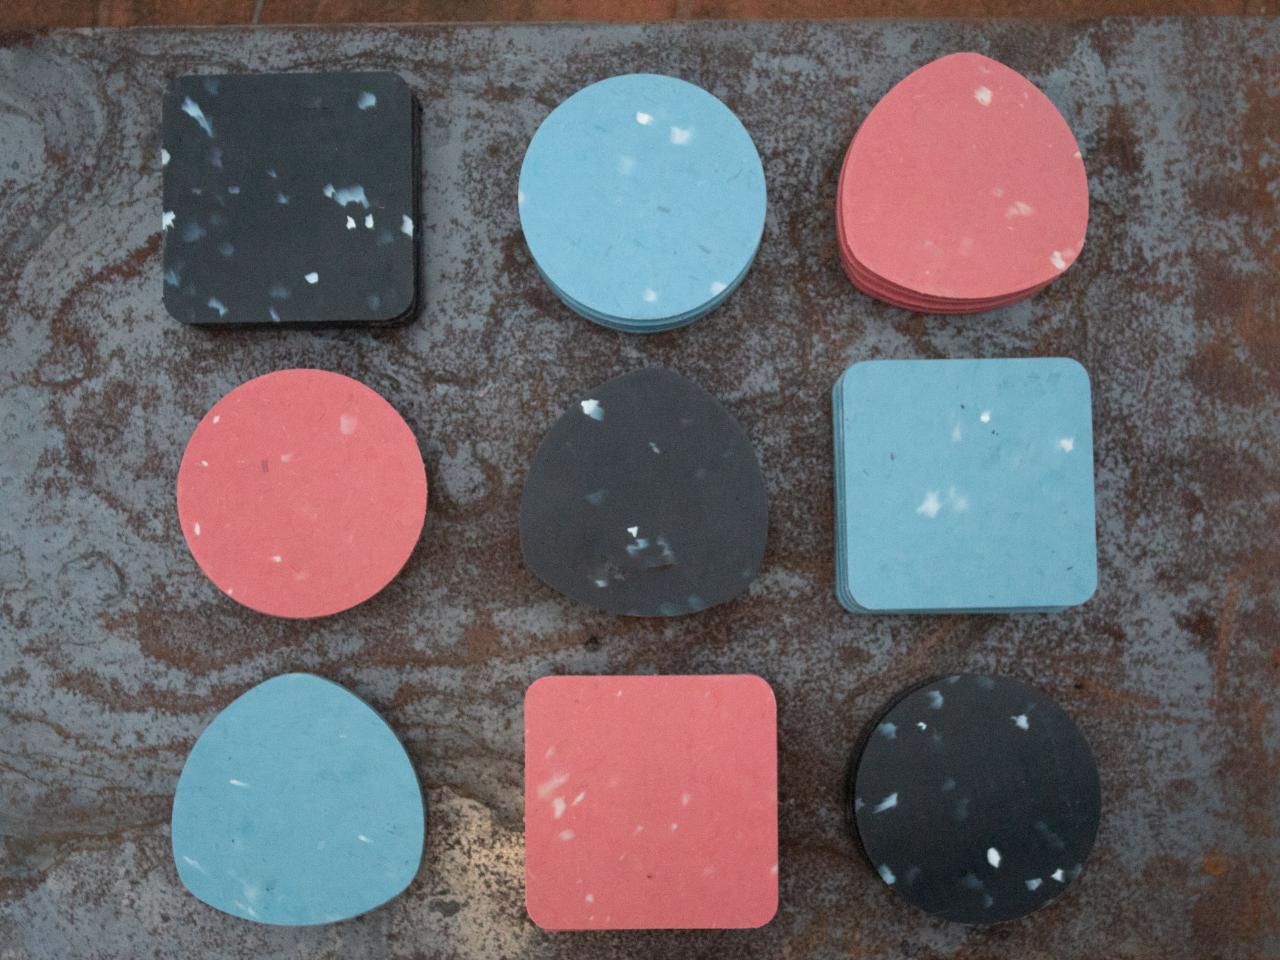
Step 1: Get a product
First you need to have a product. We work with sheets and cut them with CNC to make products. We only tried this technique with PP and HDPE. So let’s met show you how we stamp them.
Step 2: Make your stamp
Make a design for your stamp and mill it in metal. We made ours from brass, but I guess other metals would work as well. Tip: make sure to mirror your design


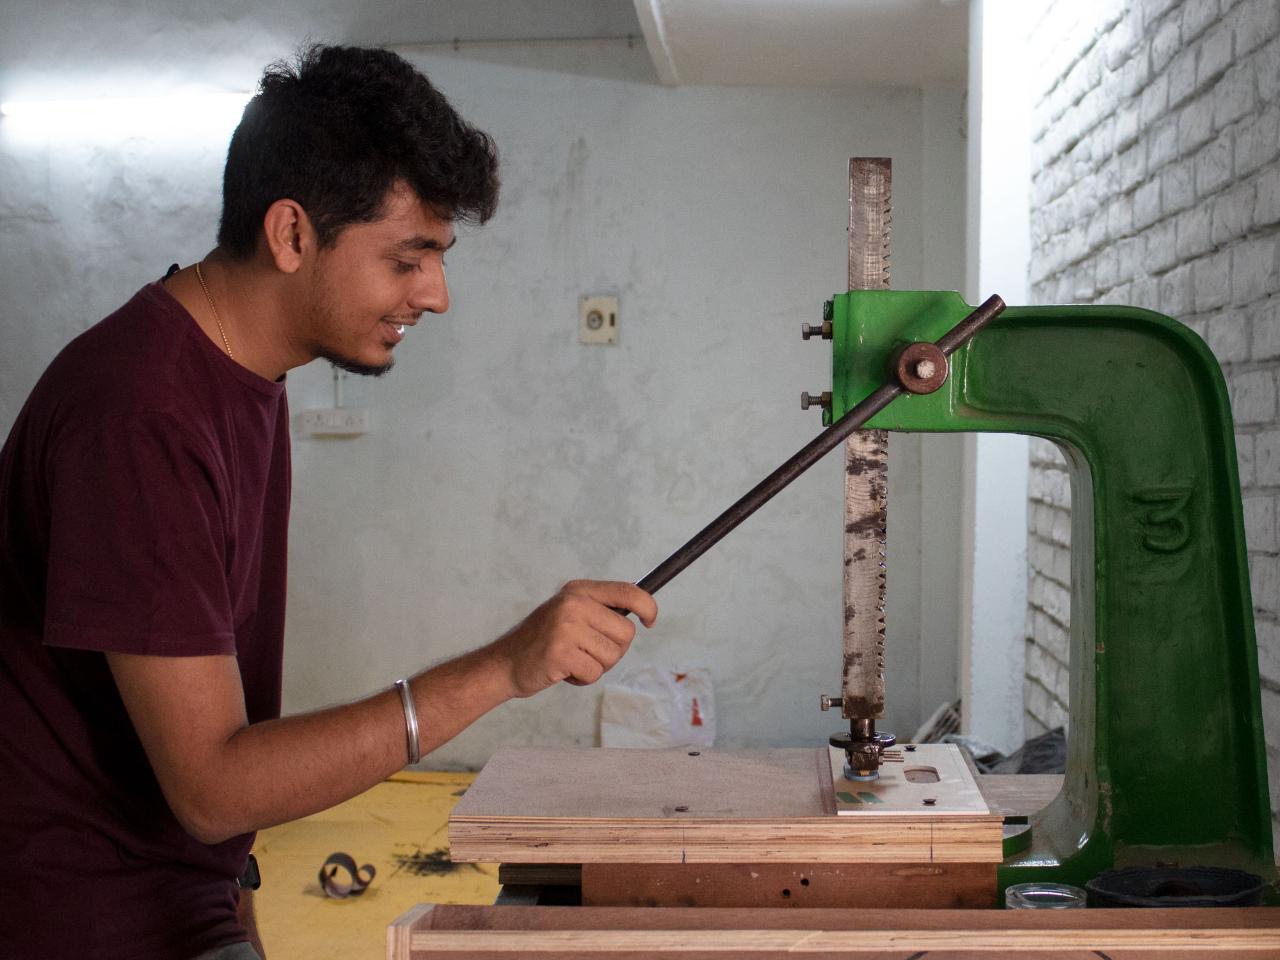
Step 3: Press
For pressing we like to use arbor press. It works fast and are easy to use/find. Put the product underneath apply some fore and take it out. You can get really fast here
Step 4: Use mould for alignment
We like it when things are consistent. So we use a little mould to put in our product to make sure we always stamp in the same place. This actually also makes sure the product doesn’t move when applying force. Not a must, but would highly recommend

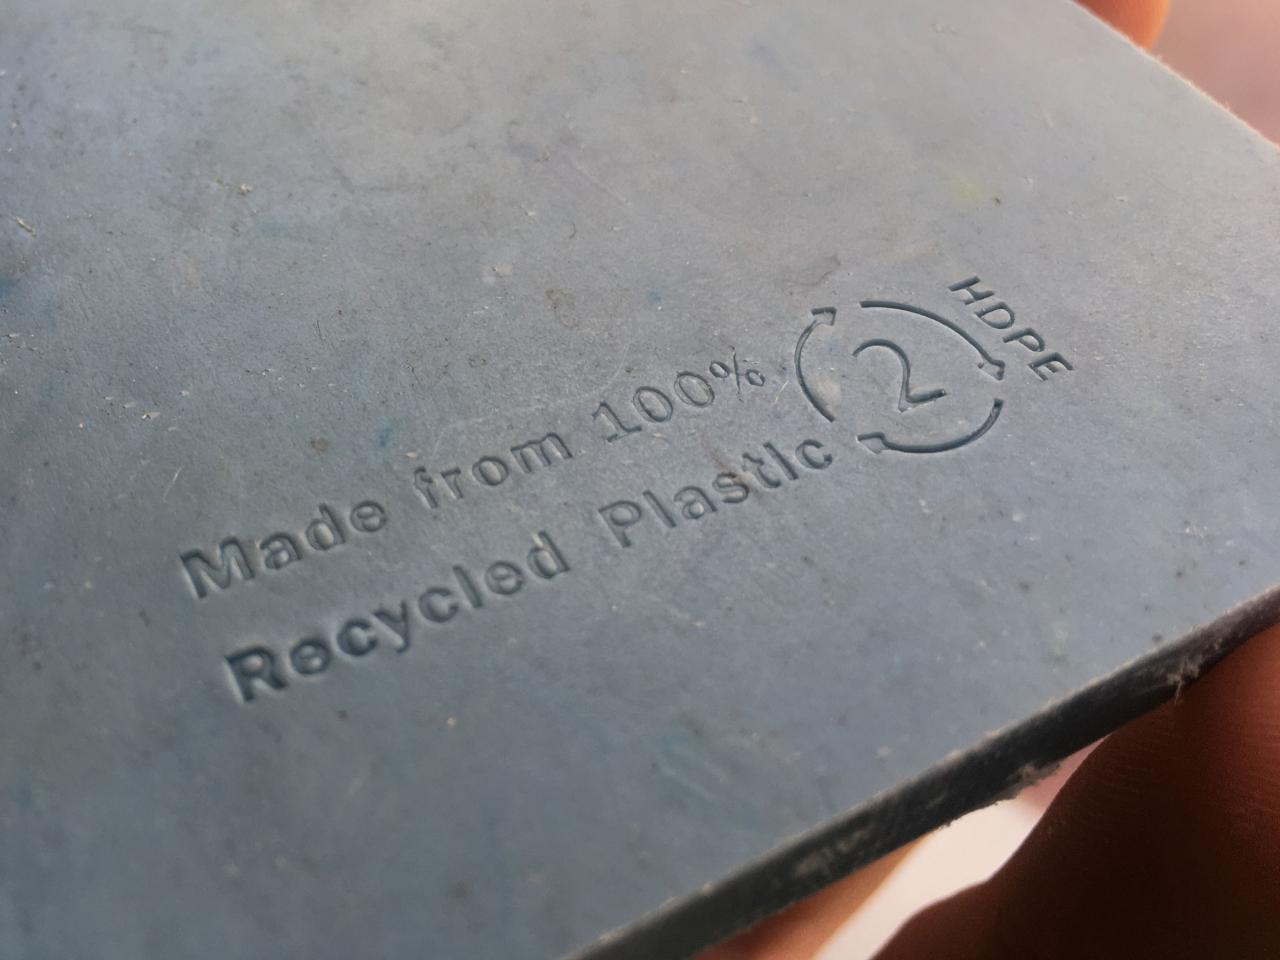
Step 5: Ready!
Here you can see a few products we stamped. We made one stamp for our logo and one for the type of plastic. Have fun making yours! :)


