| .. | ||
| files | ||
| 1.jpg | ||
| config.json | ||
| cut-the-metal-sheet.md | ||
| cut-the-nozzle-nipple.md | ||
| done.md | ||
| drill-and-cut-the-screw-holes.md | ||
| drill-the-base-center-hole.md | ||
| drill-the-base-fixing-holes.md | ||
| drill-the-screw-holder-hole.md | ||
| get-your-cnc-turned-parts.md | ||
| get-your-materials-and-prepare-the-work.md | ||
| happy-hanging-.md | ||
| image005.jpg | ||
| image007.jpg | ||
| image009.jpg | ||
| image011.jpg | ||
| image013.jpg | ||
| image015.jpg | ||
| image017.jpg | ||
| image019.jpg | ||
| image021.jpg | ||
| image023.jpg | ||
| image025.jpg | ||
| image027.jpg | ||
| image029.jpg | ||
| image031.jpg | ||
| image033.jpg | ||
| image035.jpg | ||
| image037.jpg | ||
| image039.jpg | ||
| image041.jpg | ||
| image043.jpg | ||
| image045.jpg | ||
| image047-18391cf8ca9.jpg | ||
| image047.jpg | ||
| image049.jpg | ||
| image051.jpg | ||
| IMG_1846-18391cfacb9.JPG | ||
| index.astro | ||
| index.mdx | ||
| make-the-mold-base.md | ||
| make-the-nozzle-flange.md | ||
| README.md | ||
| references.md | ||
| resources.md | ||
| turn-the-nozzle-guide-.md | ||
| Wall peg mold Files.rar | ||
| wall_peg_mold_files.rar | ||
| wall-peg-mould.md | ||
| weld-the-nozzle.md | ||
| title | slug | description | tags | category | difficulty | time | keywords | location | |||
|---|---|---|---|---|---|---|---|---|---|---|---|
| Wall Peg mould | wall-peg-mould | Here you will find the 3D model and blueprints to create the wall peg mold! |
|
Moulds | Easy | 1-2 weeks | Bogota, Colombia |
Wall Peg mould
 Here you will find the 3D model and blueprints to create the wall peg mold!
User Location: Bogota, Colombia
Steps
Step 1: Get your materials and prepare the work:
Make sure you have all your materials ready and go through the drawings and steps to understand the full picture of the process. This will help you to work more efficiently and accurate.

Step 2: Cut the nozzle nipple:
With all the parts in the bag, let’s start cutting the steel pipe nipple (no. 7) in half to make the mold nozzle. (Drawings page 3).

Step 3: Make the nozzle flange:
Get the steel disc (no. 3) and turn a hole in the center with diameter to fit in tightly one half of the steel pipe nipple (part no. 7). (See drawings page 4)


Step 4: Turn the nozzle guide
Turn one face of the flange to create a 3” diameter guide to fit the mold body no. 1: (See drawings page 4)


Step 5: Weld the nozzle
Weld no. 3 and no. 7 together. Then chamfer the welded edge on the lathe: (See drawings page 5)

Step 6: Drill the base center hole
Get disc no. 4 and drill a 9/32” hole in the center. (See drawings page 6)

Step 7: Drill and cut the screw holes
Drill four holes in the border of discs no. 3-4 and cut its sides. (See drawings pages 4-6)


Step 8: Drill the base fixing holes
Drill four more 3/16” holes in disc no. 4. (See drawings page 6)

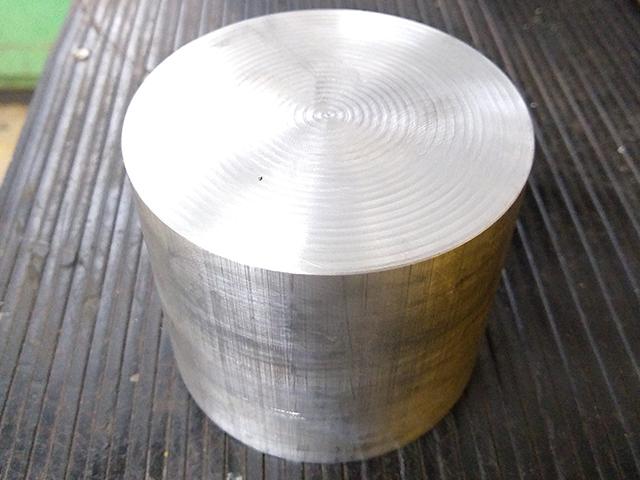
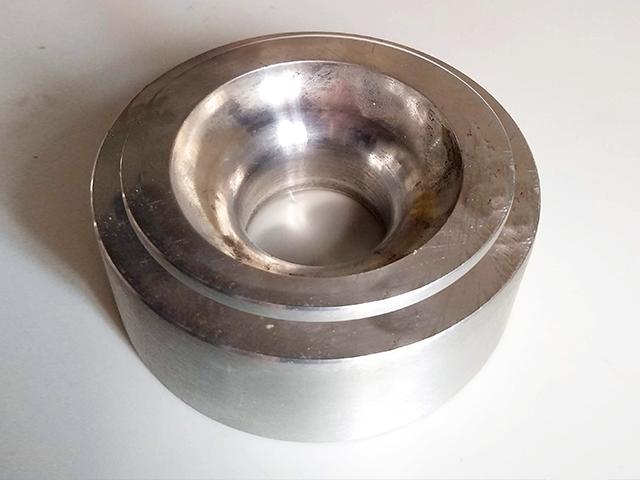
Step 9: Get your CNC turned parts
To get that curved, smooth and shiny surface for the cavity of the mold, get the parts no. 1-2 and the 3D files, and take them to the best CNC lathe workshop in town. They will handle the different file extensions, but for any doubts, the drawings will make everything clear. (See drawings pages 7-8-9)

Step 10: Make the mold base
Get part no. 5 and cut its corners tangent to a 3” circle (diameter of part no. 2). (See drawings page 10)


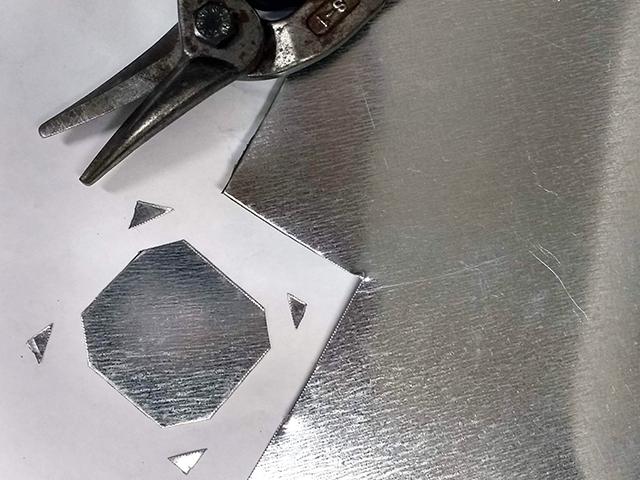
Step 11: Cut the metal sheet
From a thin metal sheet, cut part no. 6 and cut its corners to prevent injuries. With four nails, hammer it in the center of no. 5. (See drawings pages 11-12)


Step 12: Drill the screw holder hole
Drill a ⅛” hole in the center of parts no. 5 and 6. Insert a screw to create the thread in the wood. (See drawings pages 10-11-12)


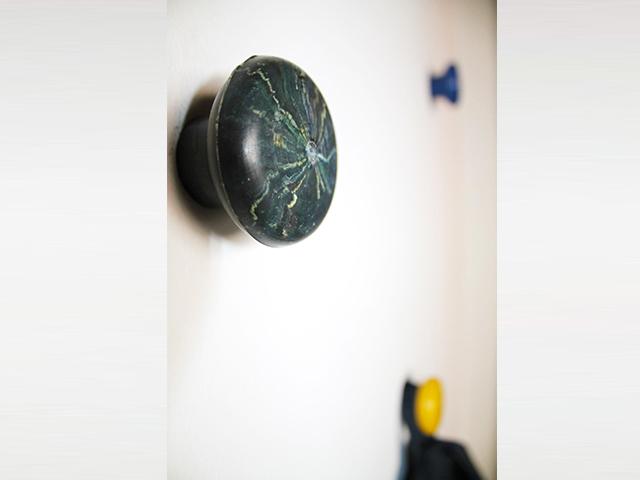
Step 13: Done!
And you’re done! Here is your Wall Peg mold. Remember to put a new screw in the wooden mold base every time you are going to inject. If you forget, the hole will be filled with plastic and won’t work. But don’t worry! Drill it again and you are done. To open the mold, take off the bolts sideways, then cut the plastic at the entrance and pull apart the mold parts. Then, unscrew the peg off the wooden part and you have your peg ready.. Since the plug has some volume, it will take time to cool down and the outgoing screw will be soft. Avoid tilting it and make sure it is in the right position. It will work with all the plastics and it is very easy and smooth to inject. Just explore and find your favorite plastics and mixtures.

Step 14: Happy hanging :)
To install the peg on the wall, drill a hole and fix it by hand with a wall plug.