| .. | ||
| config.json | ||
| F5L2YJJKQ6MQDSV.jpg | ||
| F5WJWK8KQ6MQKT6.jpg | ||
| F8AA09WKQ6MQD94.jpg | ||
| F8WEQTXKQ6MQD59.jpg | ||
| F20A0BPKQ6MQKGM.jpg | ||
| F51MECBKQ6MQHID.jpg | ||
| FAY0EWLKQ6MQHJ6.jpg | ||
| FCD7P04KQ6MQE19.jpg | ||
| FCISVBQKQ6MQDUG.jpg | ||
| FD3LSJ8KQ6MQJJC.jpg | ||
| FE2XV94KQ6MQE1A.jpg | ||
| FF8ONVQKQ6MQE1U.jpg | ||
| FFBDHRIKQ6MQDUH.jpg | ||
| FKD8Y44KQ6MQE5F.jpg | ||
| FLHBXXUKQ6MQD93.jpg | ||
| FODUN14KQ6MQEDS.jpg | ||
| FPHMREMKQ6MQEGF.jpg | ||
| FQFDSB1KQ6MQFLC.jpg | ||
| FTYQC1PKQ6MQKT8.jpg | ||
| FUAMC9NKQ6MQHIB.jpg | ||
| FW55ME5KQ6MQKT9.jpg | ||
| FXZZI0QKQ6MQJJG.jpg | ||
| FZT8CG6KQ6MQEGE.jpg | ||
| FZV5YIJKQ6MQJJF.jpg | ||
| index.mdx | ||
| README.md | ||
| references.md | ||
| resources.md | ||
| title | slug | description | tags | category | difficulty | time | keywords | location | |||
|---|---|---|---|---|---|---|---|---|---|---|---|
| Make some Colorful Plant Pots | make-some-colorful-plant-pots | Let's try to recycle some plastic into beautifully colorful plant pots. |
|
Products | Easy | < 5 hours | Munich, Germany |
Make some Colorful Plant Pots
 Let's try to recycle some plastic into beautifully colorful plant pots.
User Location: Munich, Germany
Steps
Step 1: Requirements
To create our pots, we need the following things & tools:
- Leftover plastics (sorted by type and color)
- Silicone molds The molds we used are intended for concrete casting, but as silicone is quite heat resistant, they work perfectly well with up to 200°C, sometimes even more. Just search for "Concrete silicone mold" on Amazon, eBay, Aliexpress, or wherever you like to shop online.
- An oven, like the compression oven. We won't use the actual compression part, just the heat.

Step 2: Preparing Your Plastic
We need to have the plastic in small enough pieces so we can fill our silicone moulds. If you have a shredder, use that. If you don't, use a hammer (on brittle plastic), shears, bandsaws, whatever works to get them down in size. It doesn't need to be super small, since it will melt into the mould, and you can experiment with patterns of colors, depending on the size of the pieces you put in.


Step 3: Filling Up the Molds
With your plastic properly prepared, squeeze in as much as you can into your silicone molds. Think of some funky color combinations. Here we're going for a mix of green/yellow and blue/red.
Ideally, the plastic can collapse in onto itself while melting, and not drip outside of your mold. That just means there's less for you to worry about while it's in the oven.


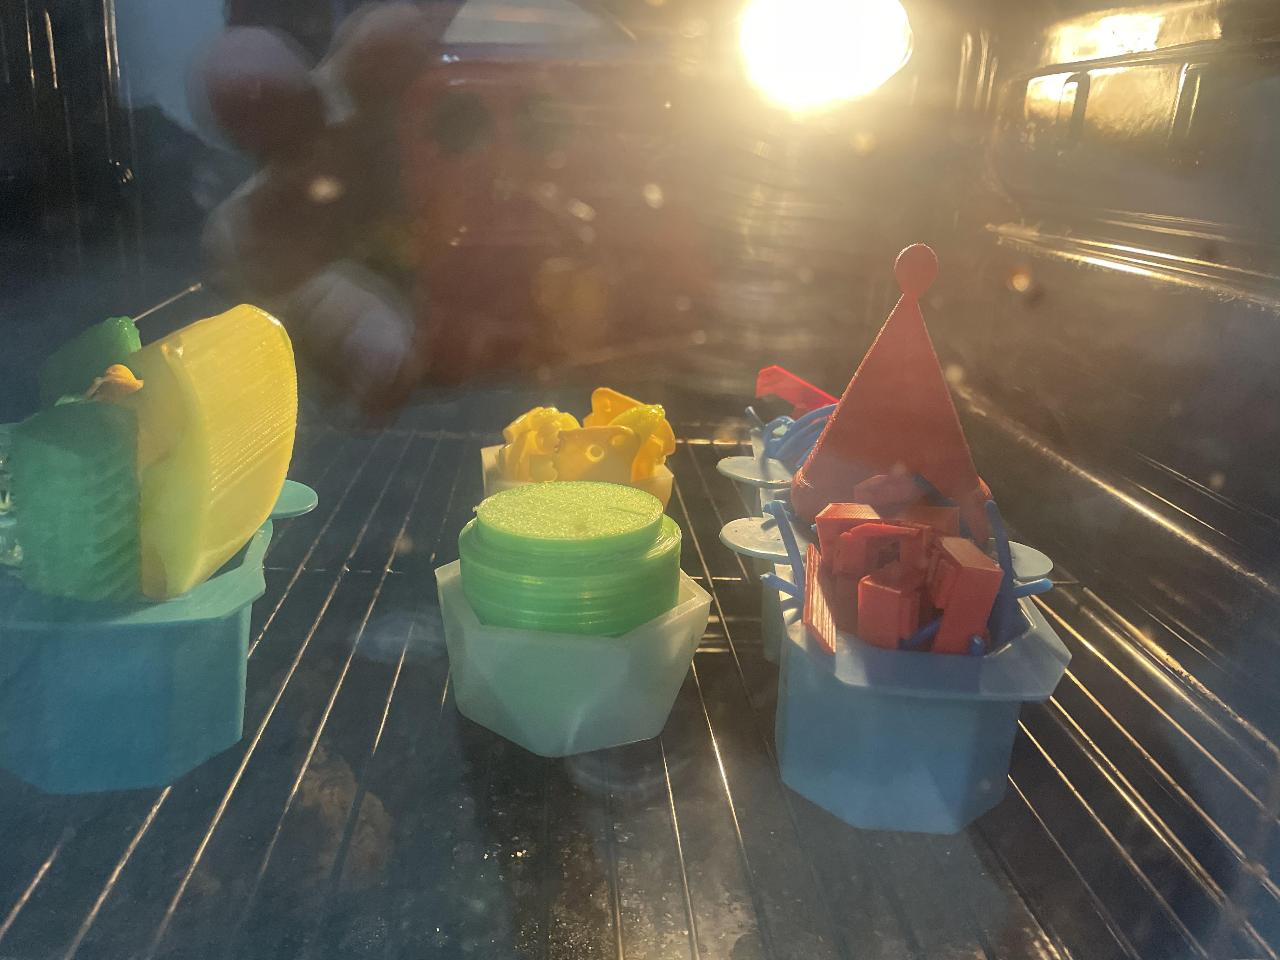
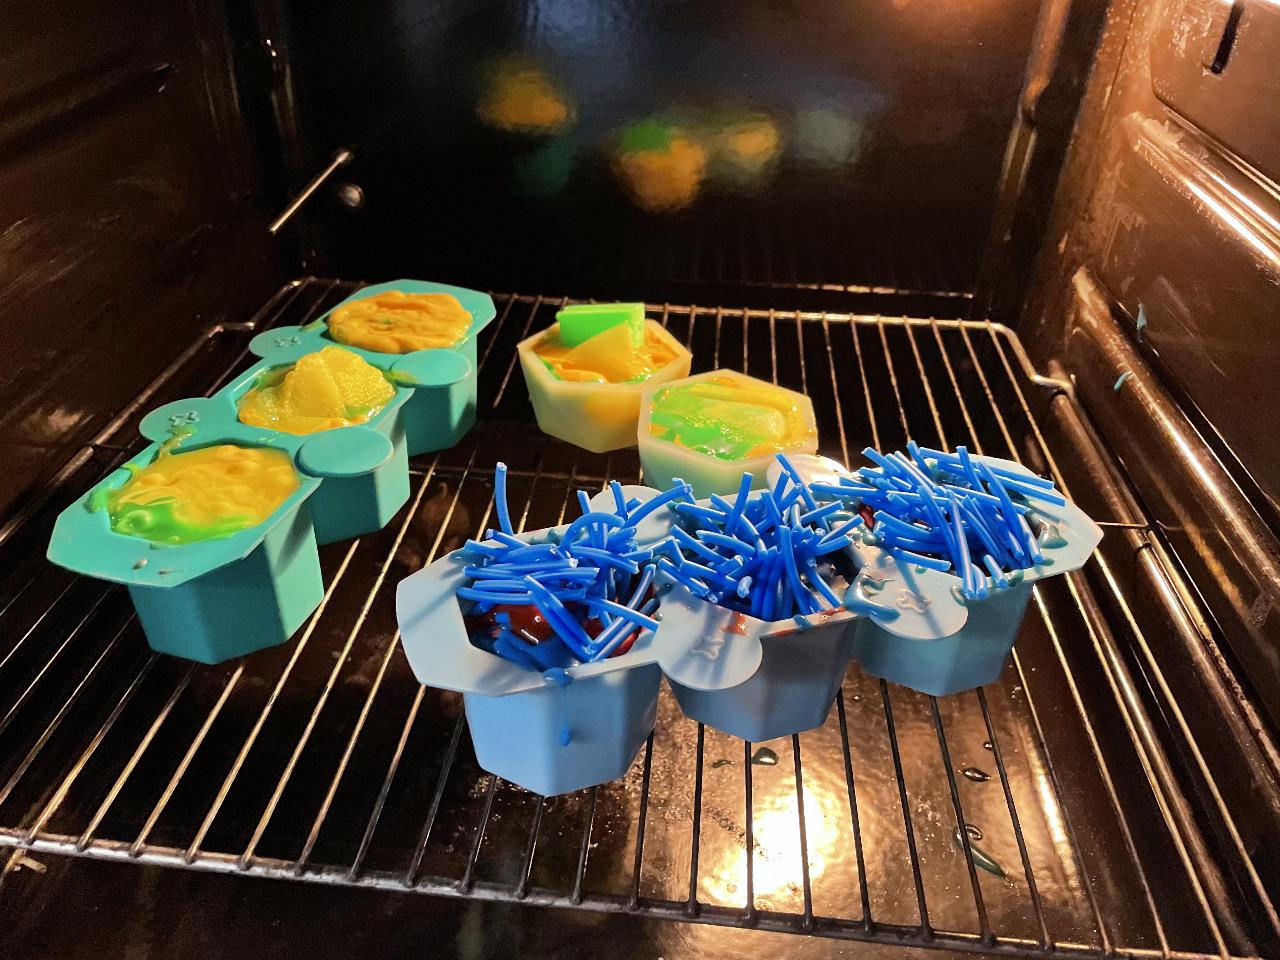
Step 4: Filling the Oven
With your oven preheated at the target temperature for your type of plastic, it's time to pop the filled molds into the heat.
We're using PLA, with a temperature of 170-180°C. This might be different for your oven also, so start a little on the cool side and work your way up. The [filtered] Download Pack has a good reference poster for some other common types of plastics. For 3D printing plastics, check out the datasheets by your filament supplier.


Step 5: Melting, Squishing, Refilling
Now you need to keep a constant eye on your molds. Especially if they're stacked quite full, always look for plastic trying to drip over the sides. In that case, take out the mold (wear welding gloves), and push the plastic back into the mold using a flat-head screwdriver.
The same process is also helpful to compact bigger pieces of softened plastic down into the mold (like in the first picture here).
Keep adding new material to slowly fill up the mold, keeping your color scheme and pattern in mind.


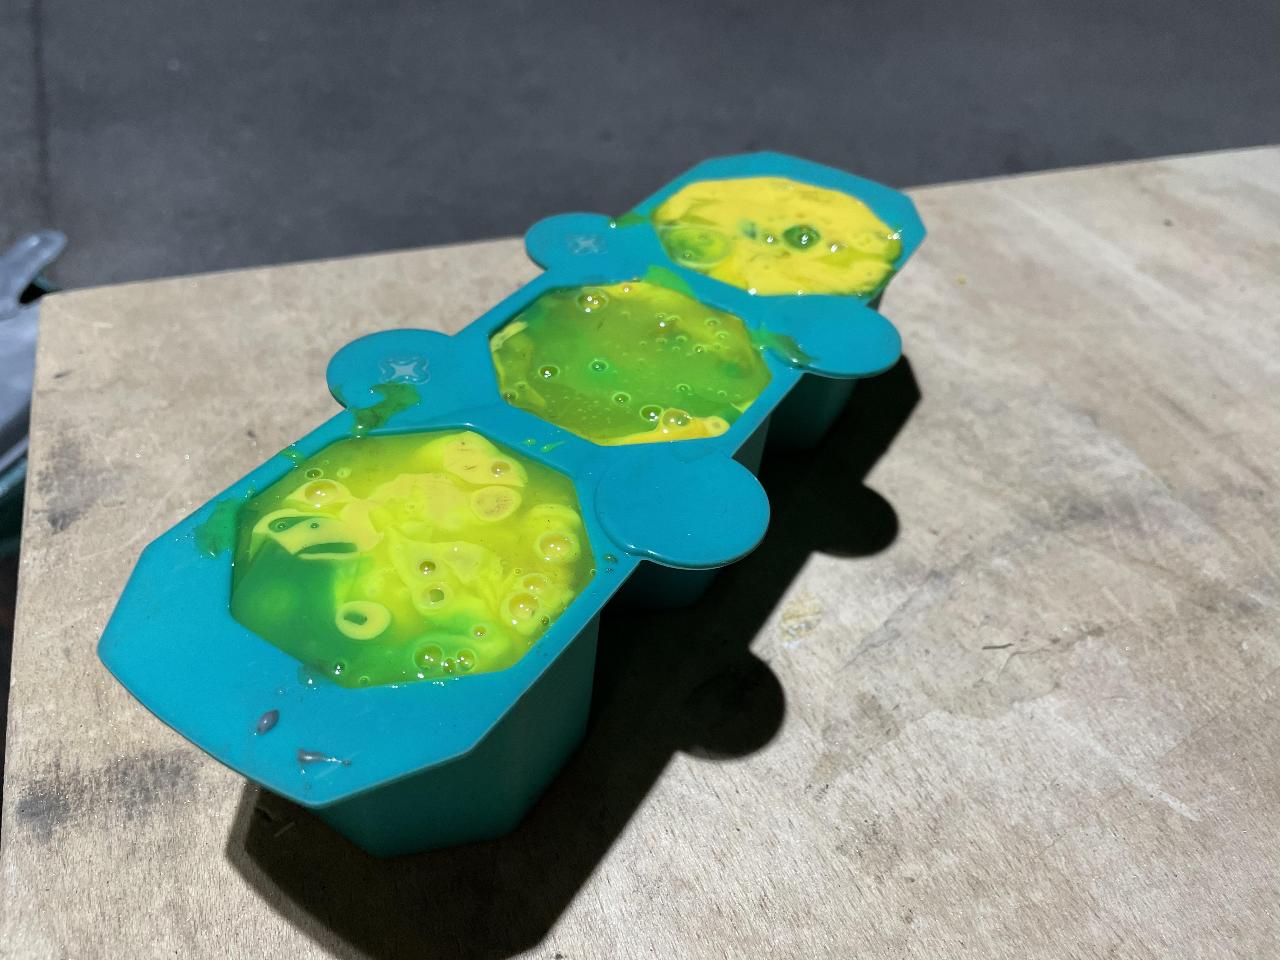
Step 6: Cooldown
With the molds filled up, it's time to take them out of the oven and let them cool down. Again make sure to wear proper gloves while doing so.
I like to still pop some of the air bubbles with a screwdriver before letting the pots cool. The longer the molds are in the oven, the less air bubbles you'll have, but they're hard to avoid completely with a process like this.
One thing we're still experimenting with is adding a 2-3mm metal sheet on top of the mold while it cools. This helps with a more consistent top/bottom, but sometimes leads to some deformation of the piece itself. Just try it out for yourself.
Let the molds cool down completely, ideally overnight.


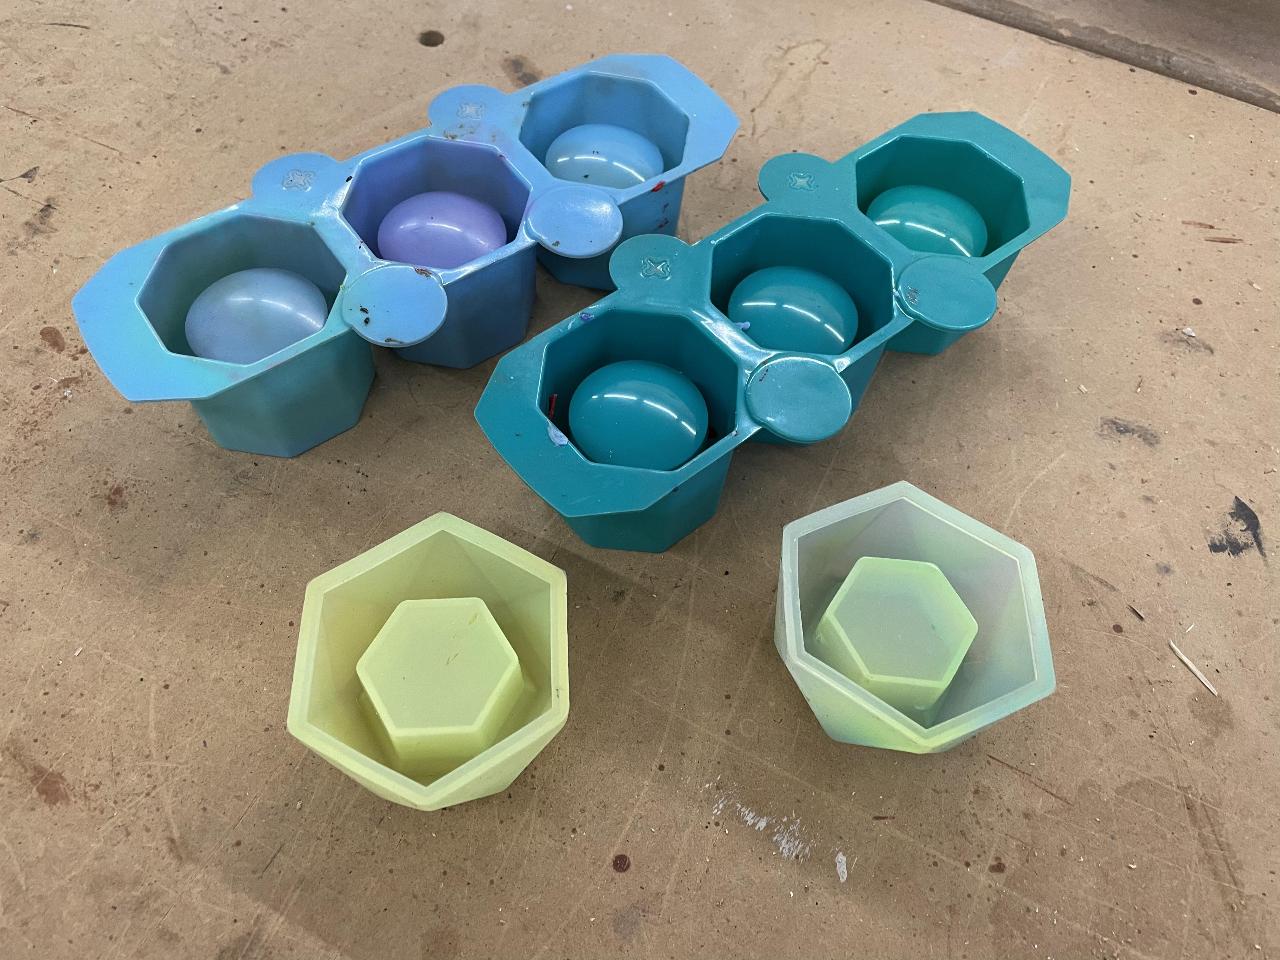
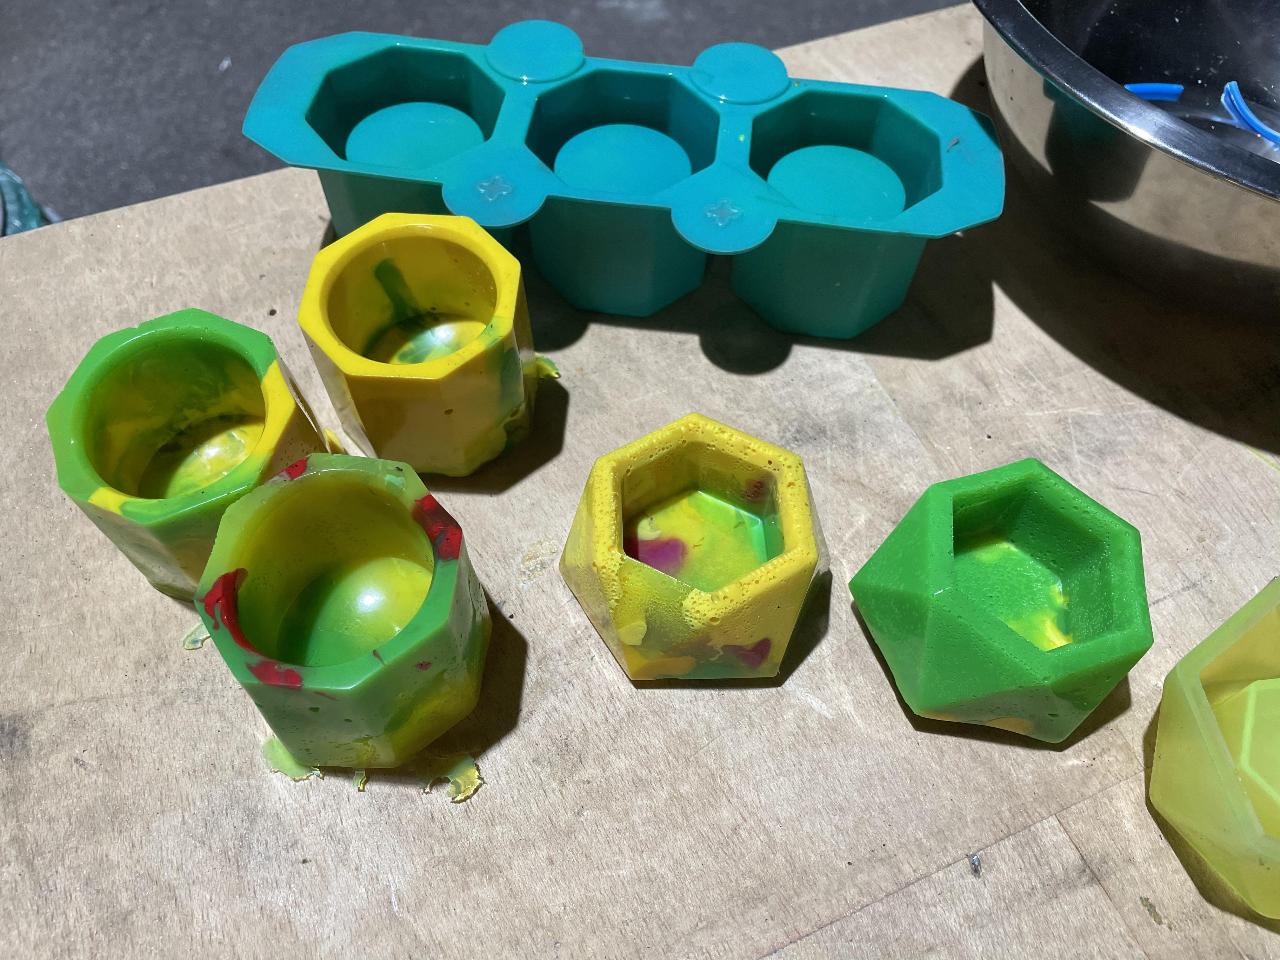
Step 7: Demolding
With the molds and the plastic properly cooled, it's time to get your pots out of their molds. The silicone is quite flexible, so you turn the mold in on itself to release the pot. But it's also easy to rip the molds in tight corners, so try to be a bit careful there.


Step 8: Marking the Plastic Type
To ensure your pots can be recycled again, you have to mark it with the type of plastic it is. Ideally you would print the recycling triangle on there with the appropriate number and text, and there are special sets of branding irons to do exactly that at home.
But a much simpler way is to use some of these punching letters you would usually use on sheet metal and punch the type into the bottom of your pots. Like so.

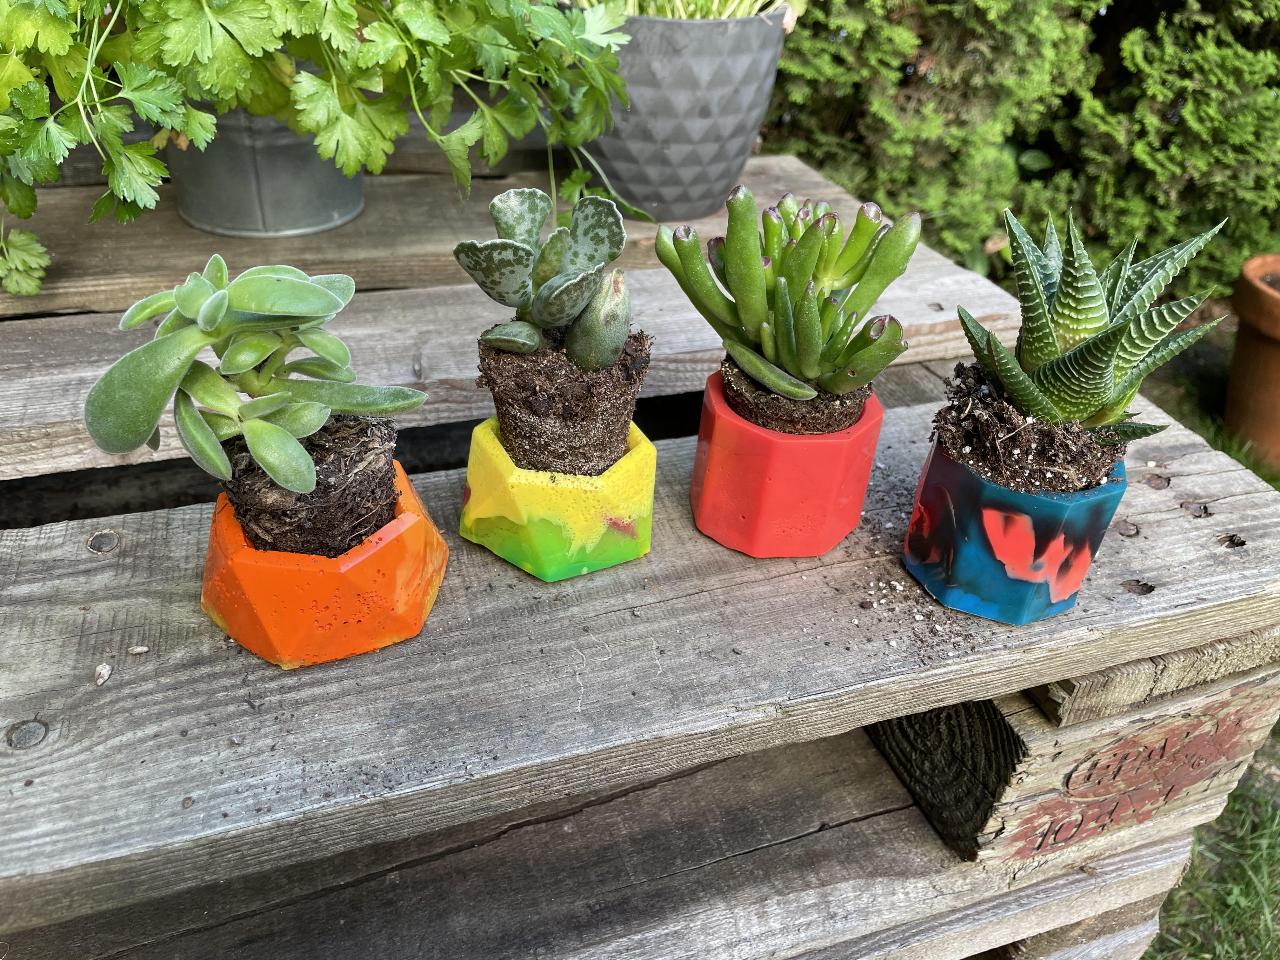
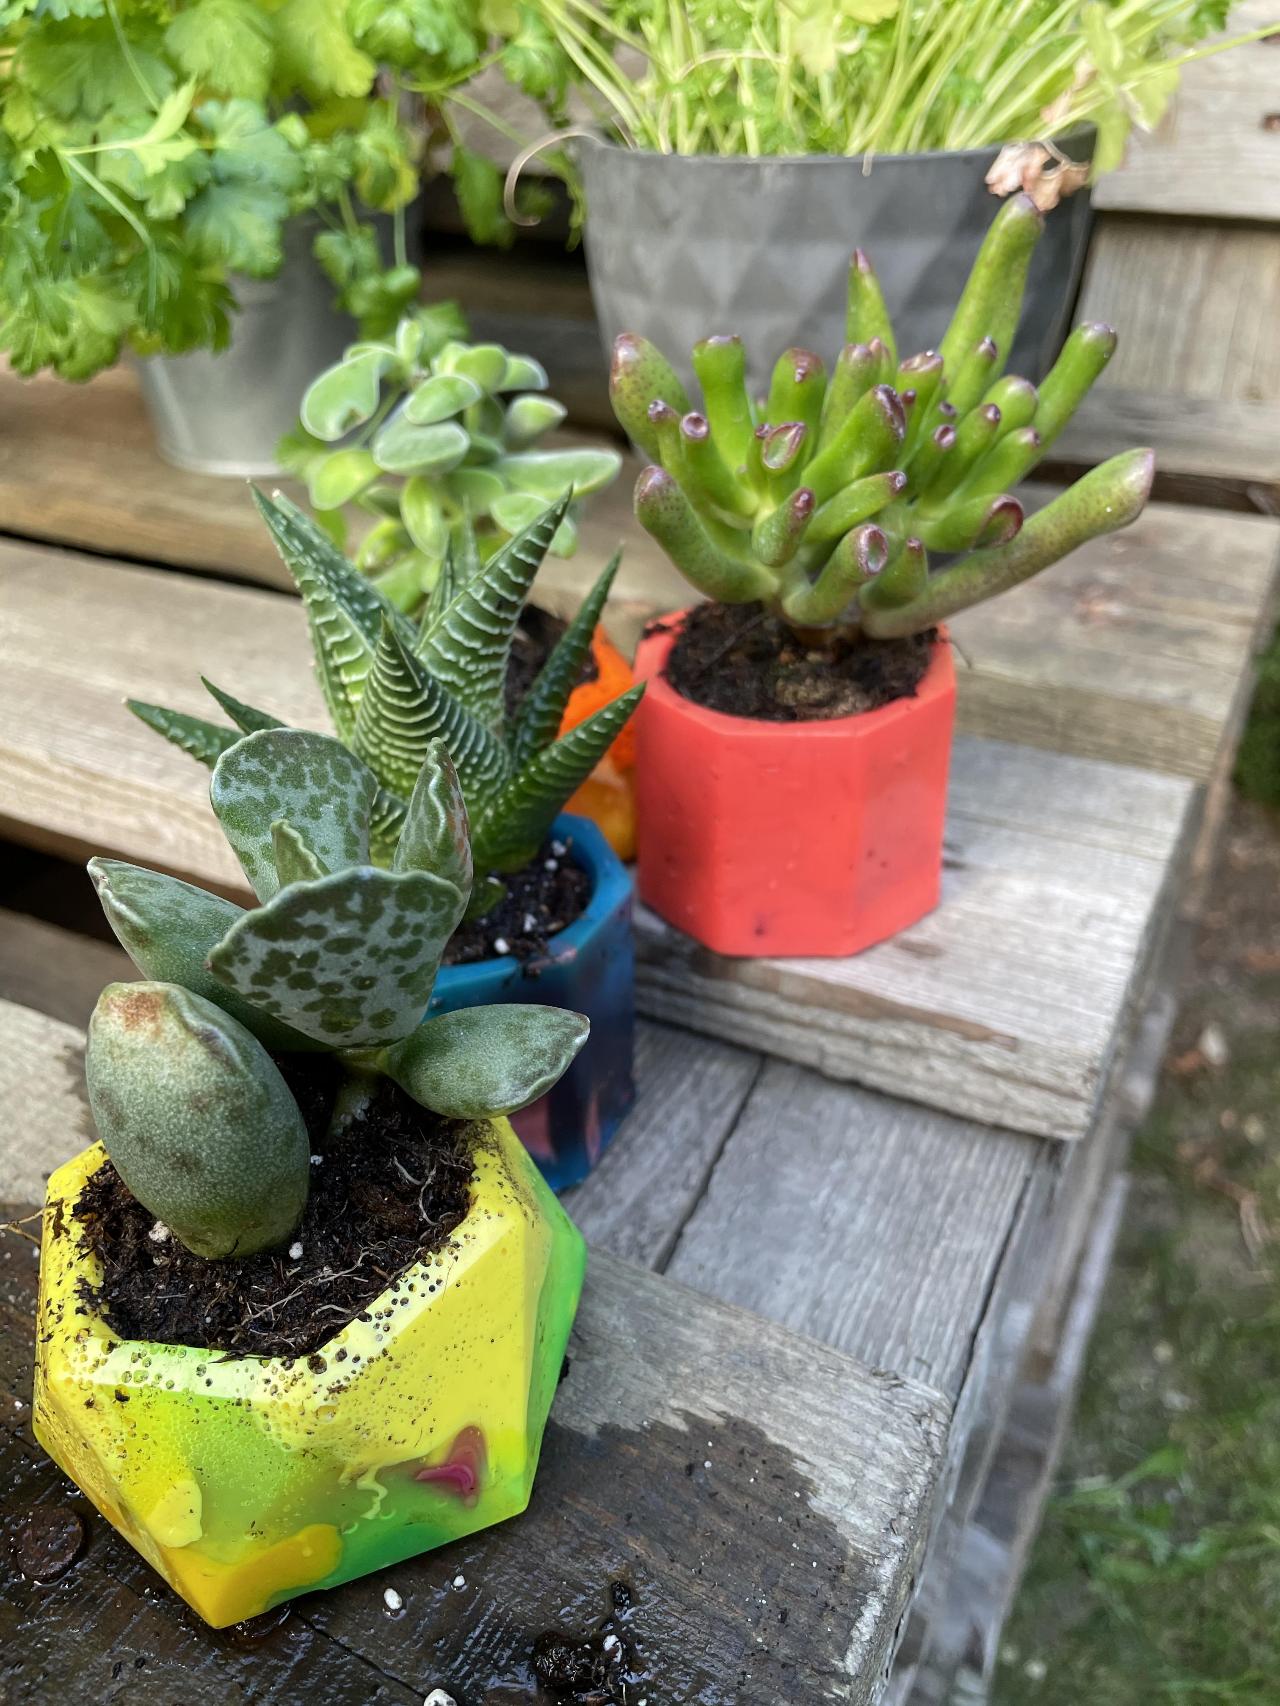
Step 9: Fill Them Up With Plants
Now it's time to find some small plants and fill up your pots. Get some succulent cuttings from a friend and grow your own tiny plants. Or get some at the gardening store, if you're in a hurry like I was. But growing them yourself is much more rewarding, for sure.
Don't forget to water them, right after replanting, and continuously as well.