2.8 KiB
| title | slug | description | tags | category | difficulty | time | keywords | location | ||||||
|---|---|---|---|---|---|---|---|---|---|---|---|---|---|---|
| Clothes Hanger Mould | clothes-hanger-mould-25116 | This one is a CNC machined mould, so find your favorite CNC provider and prepare to inject lots of hangers! |
|
Moulds | Hard | 1-2 weeks | Bogota, Colombia |
Clothes Hanger Mould
 This one is a CNC machined mould, so find your favorite CNC provider and prepare to inject lots of hangers!
User Location: Bogota, Colombia
Steps
Step 1: Download the files
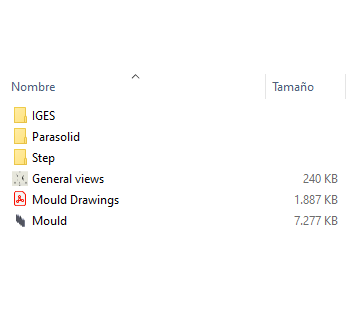
Into the files you'll find:
- General drawings
- .IGES files
- .STEP files
- Parasolid files
- Solidworks editable file

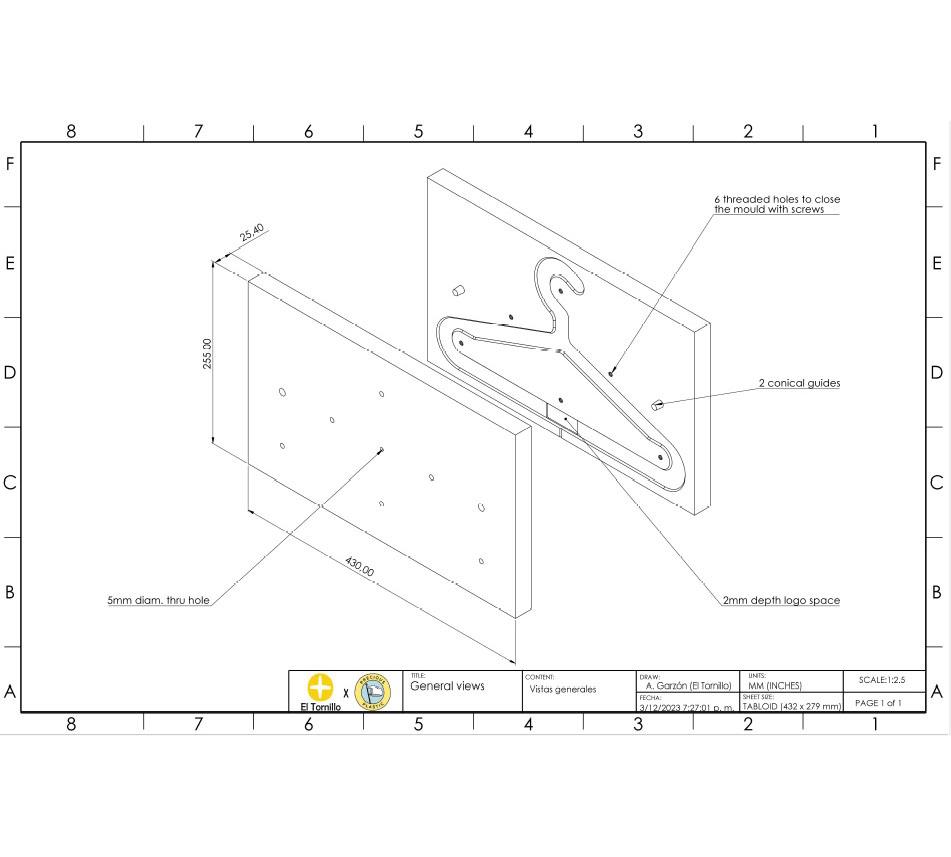
Step 2: Machine your mould
For the mould you will need two aluminum blocks of 430mm by 255mm by 25mm.
Find your CNC favorite machinist and send them the files.
You can choose to make it with the hole to add your logo or you can leave it flat (both files are in the download)
If you want to go further, you can change the dimentions or any other part of the design with the editable SW file. Don't forget to share all the new ideas!
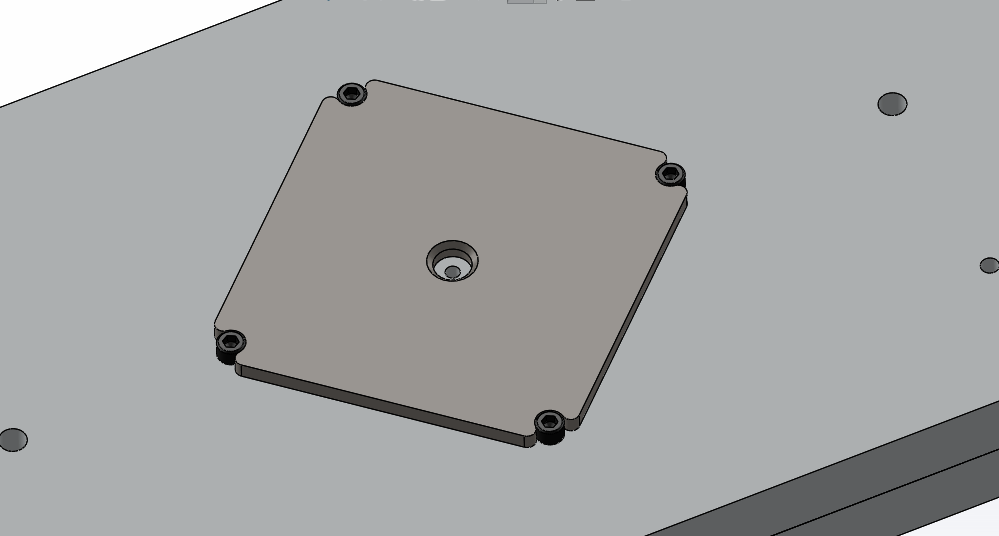
Step 3: Select the nozzle
According to your machine nozzle, select the type of flange you will use to connect the mould.
For a conical nozzle, it is a flat 6mm flange with a bevel to recieve the nozzle. With slots to stay aligned with the screw heads. It is not fixed to the mold, only pressed with the jack between the mold and the nozzle.
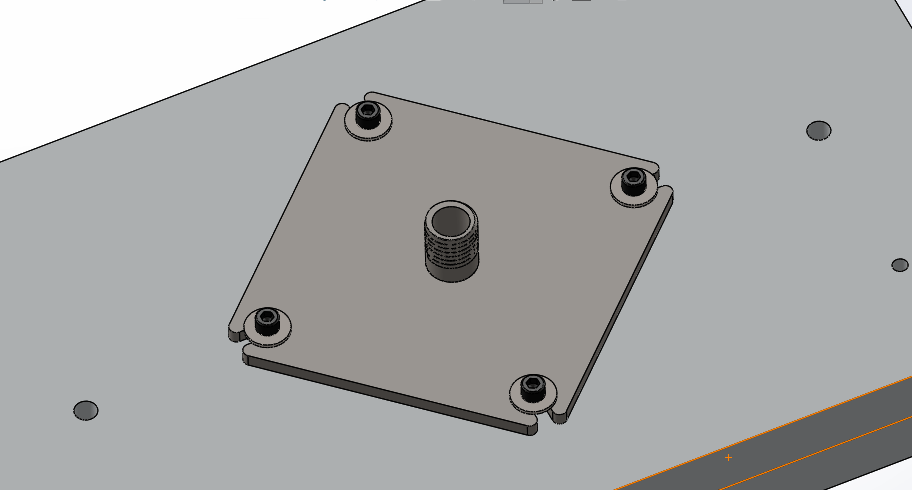
For a screw nozzle, you have to weld the pipe connector to the flange and fix the flange to the mold with the closing screws.
Feel free to addapt the design to your needs or propose a better solution :)
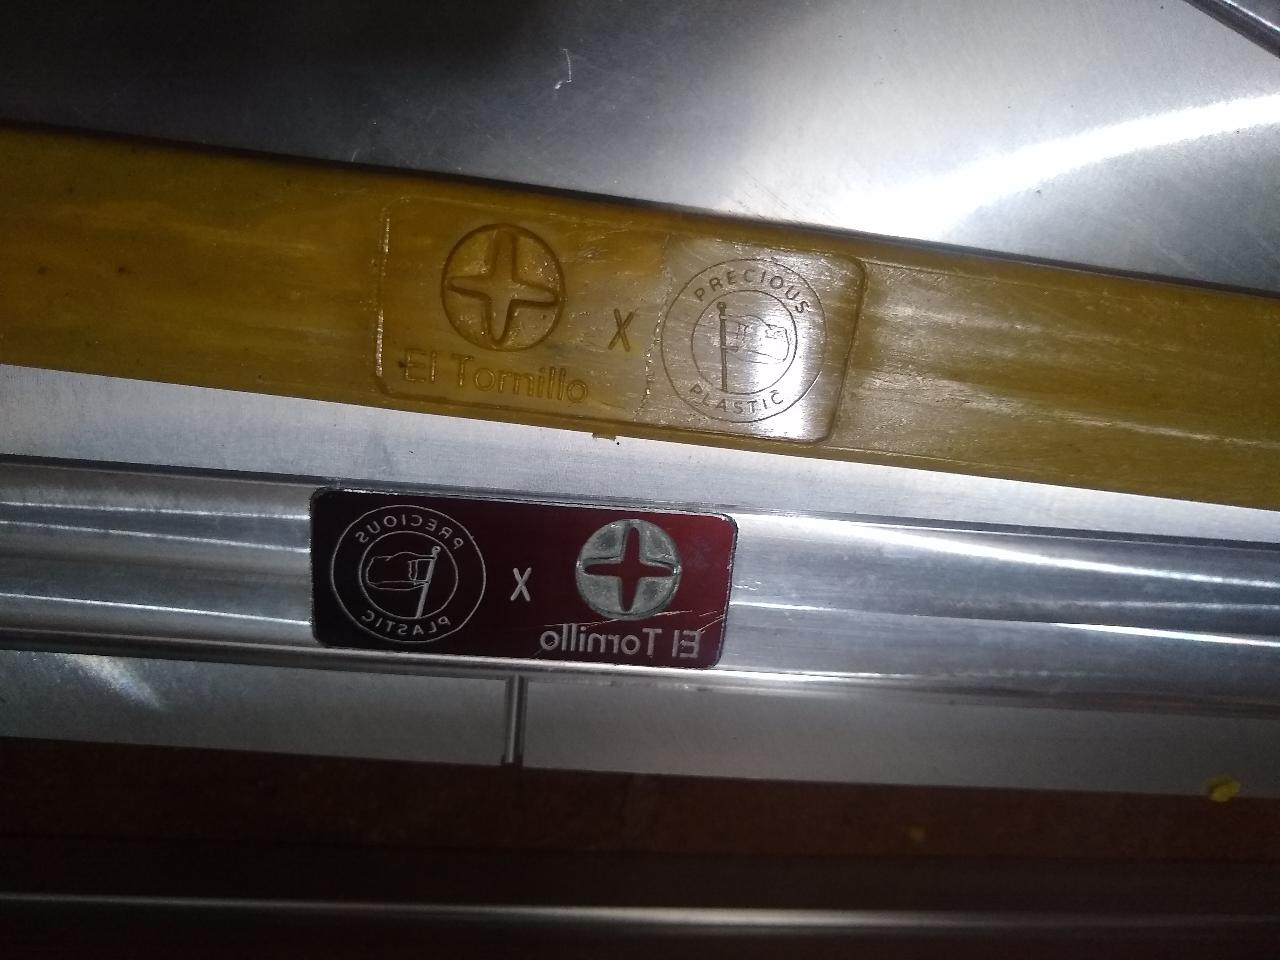
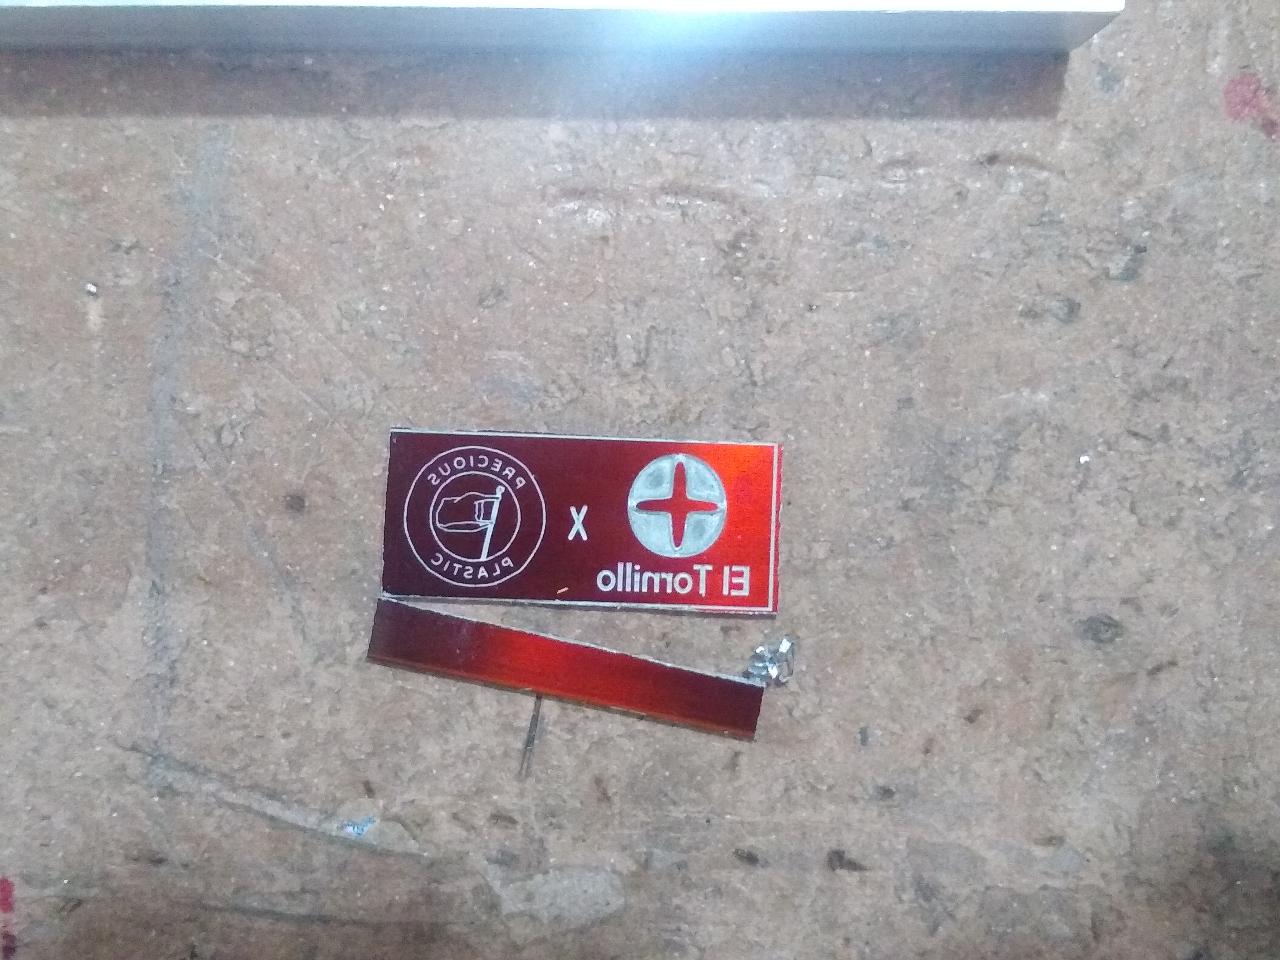
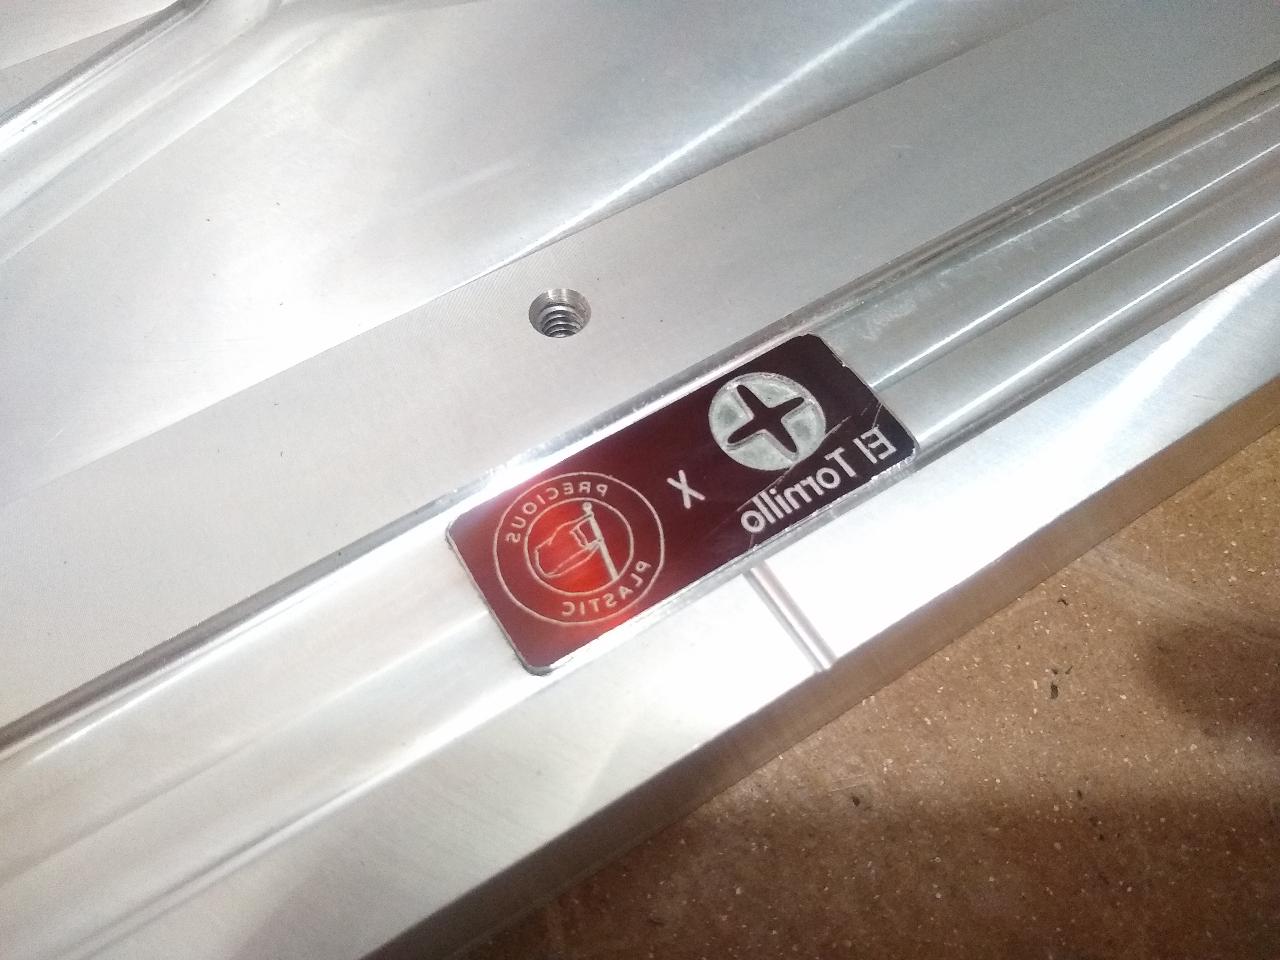
Step 4: Add the logo
If you choosed to make the mold with logos, add the engraved sheet to the mould.
This example is a metal sheet engraved by acid metal etching. A process commonly used in the printing industry.
Cut and file the sheet to it's final size and embed it inside the hole.

Step 5: Inject your hangers!
Heat up your machine, add the plastic in the color mixture you love and inject your hangers!
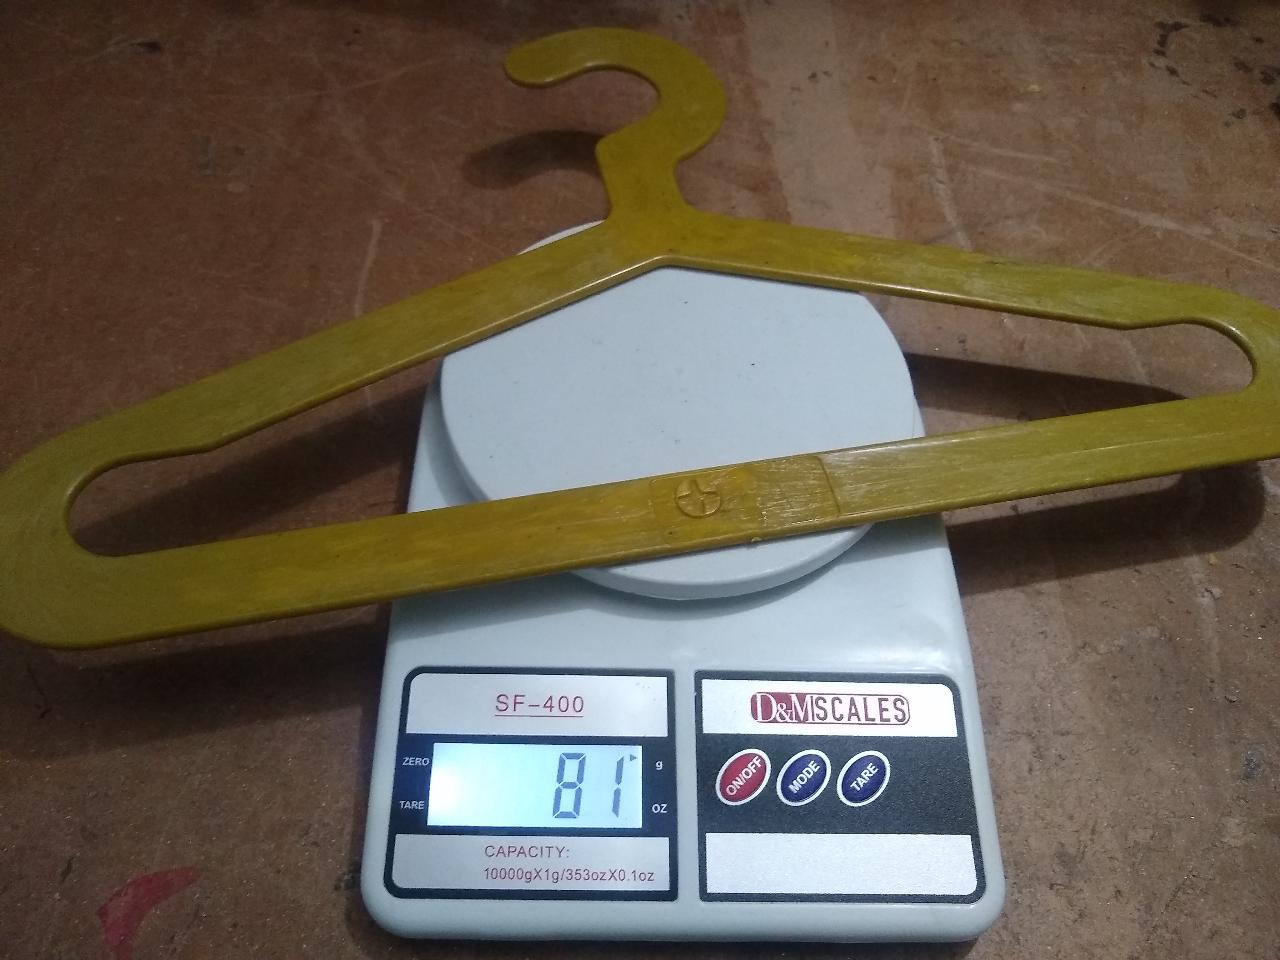
The final wheight is around 81 grams.